Garage cabinets, part 1
One of the things I miss about Rhode Island is the basement. Well, basements are no end of trouble, so I don’t miss the basement. Just the amount of storage it could handle when there wasn’t water down there.
In North Carolina, basements are rare. Most houses are plopped down on a slab or, at best, have a crawlspace. Your garage ends up being the target for everything you don’t want in the house, to the point that most people can’t fit cars in there anymore. We’re in that group. It is my workshop, the pantry, and the home to all of the ladders, lawn tools, holiday decorations, beach gear, coolers, and (too many) reserves of toilet paper, paper towels, and light bulbs. There’s also a fridge out there, which mostly houses booze, and gives us a bit more freezer space. And lots of other stuff we should donate or throw away. It is busting at the seams.
I’ve been getting the DIY bug lately – we want to put a built-in bookshelf in our bedroom to frame the TV and give us better use of one of the walls. But first, I wanted to whet my teeth on the garage. I saw a lot of content out there about building stuff with IKEA Billy bookcases, which sounds a lot more appealing to me than building cabinet boxes from scratch (even though that gives the most flexibility). People do some phenomenal things with those – making them look custom and built-in and not bought from a “bargain” retailer. But I don’t like the Billy because they’re too shallow – if I’m using them as storage, I don’t want 11″ shelves.
Enter PAX. These things are twice as deep as Billy, and come in bigger sizes (and, yes, higher volumes of MDF = higher price tags). Here is the first space I’m going to fill; we have about two feet of clearance along the inside wall of the garage, with the entry door to the right, and the garage door to the left:
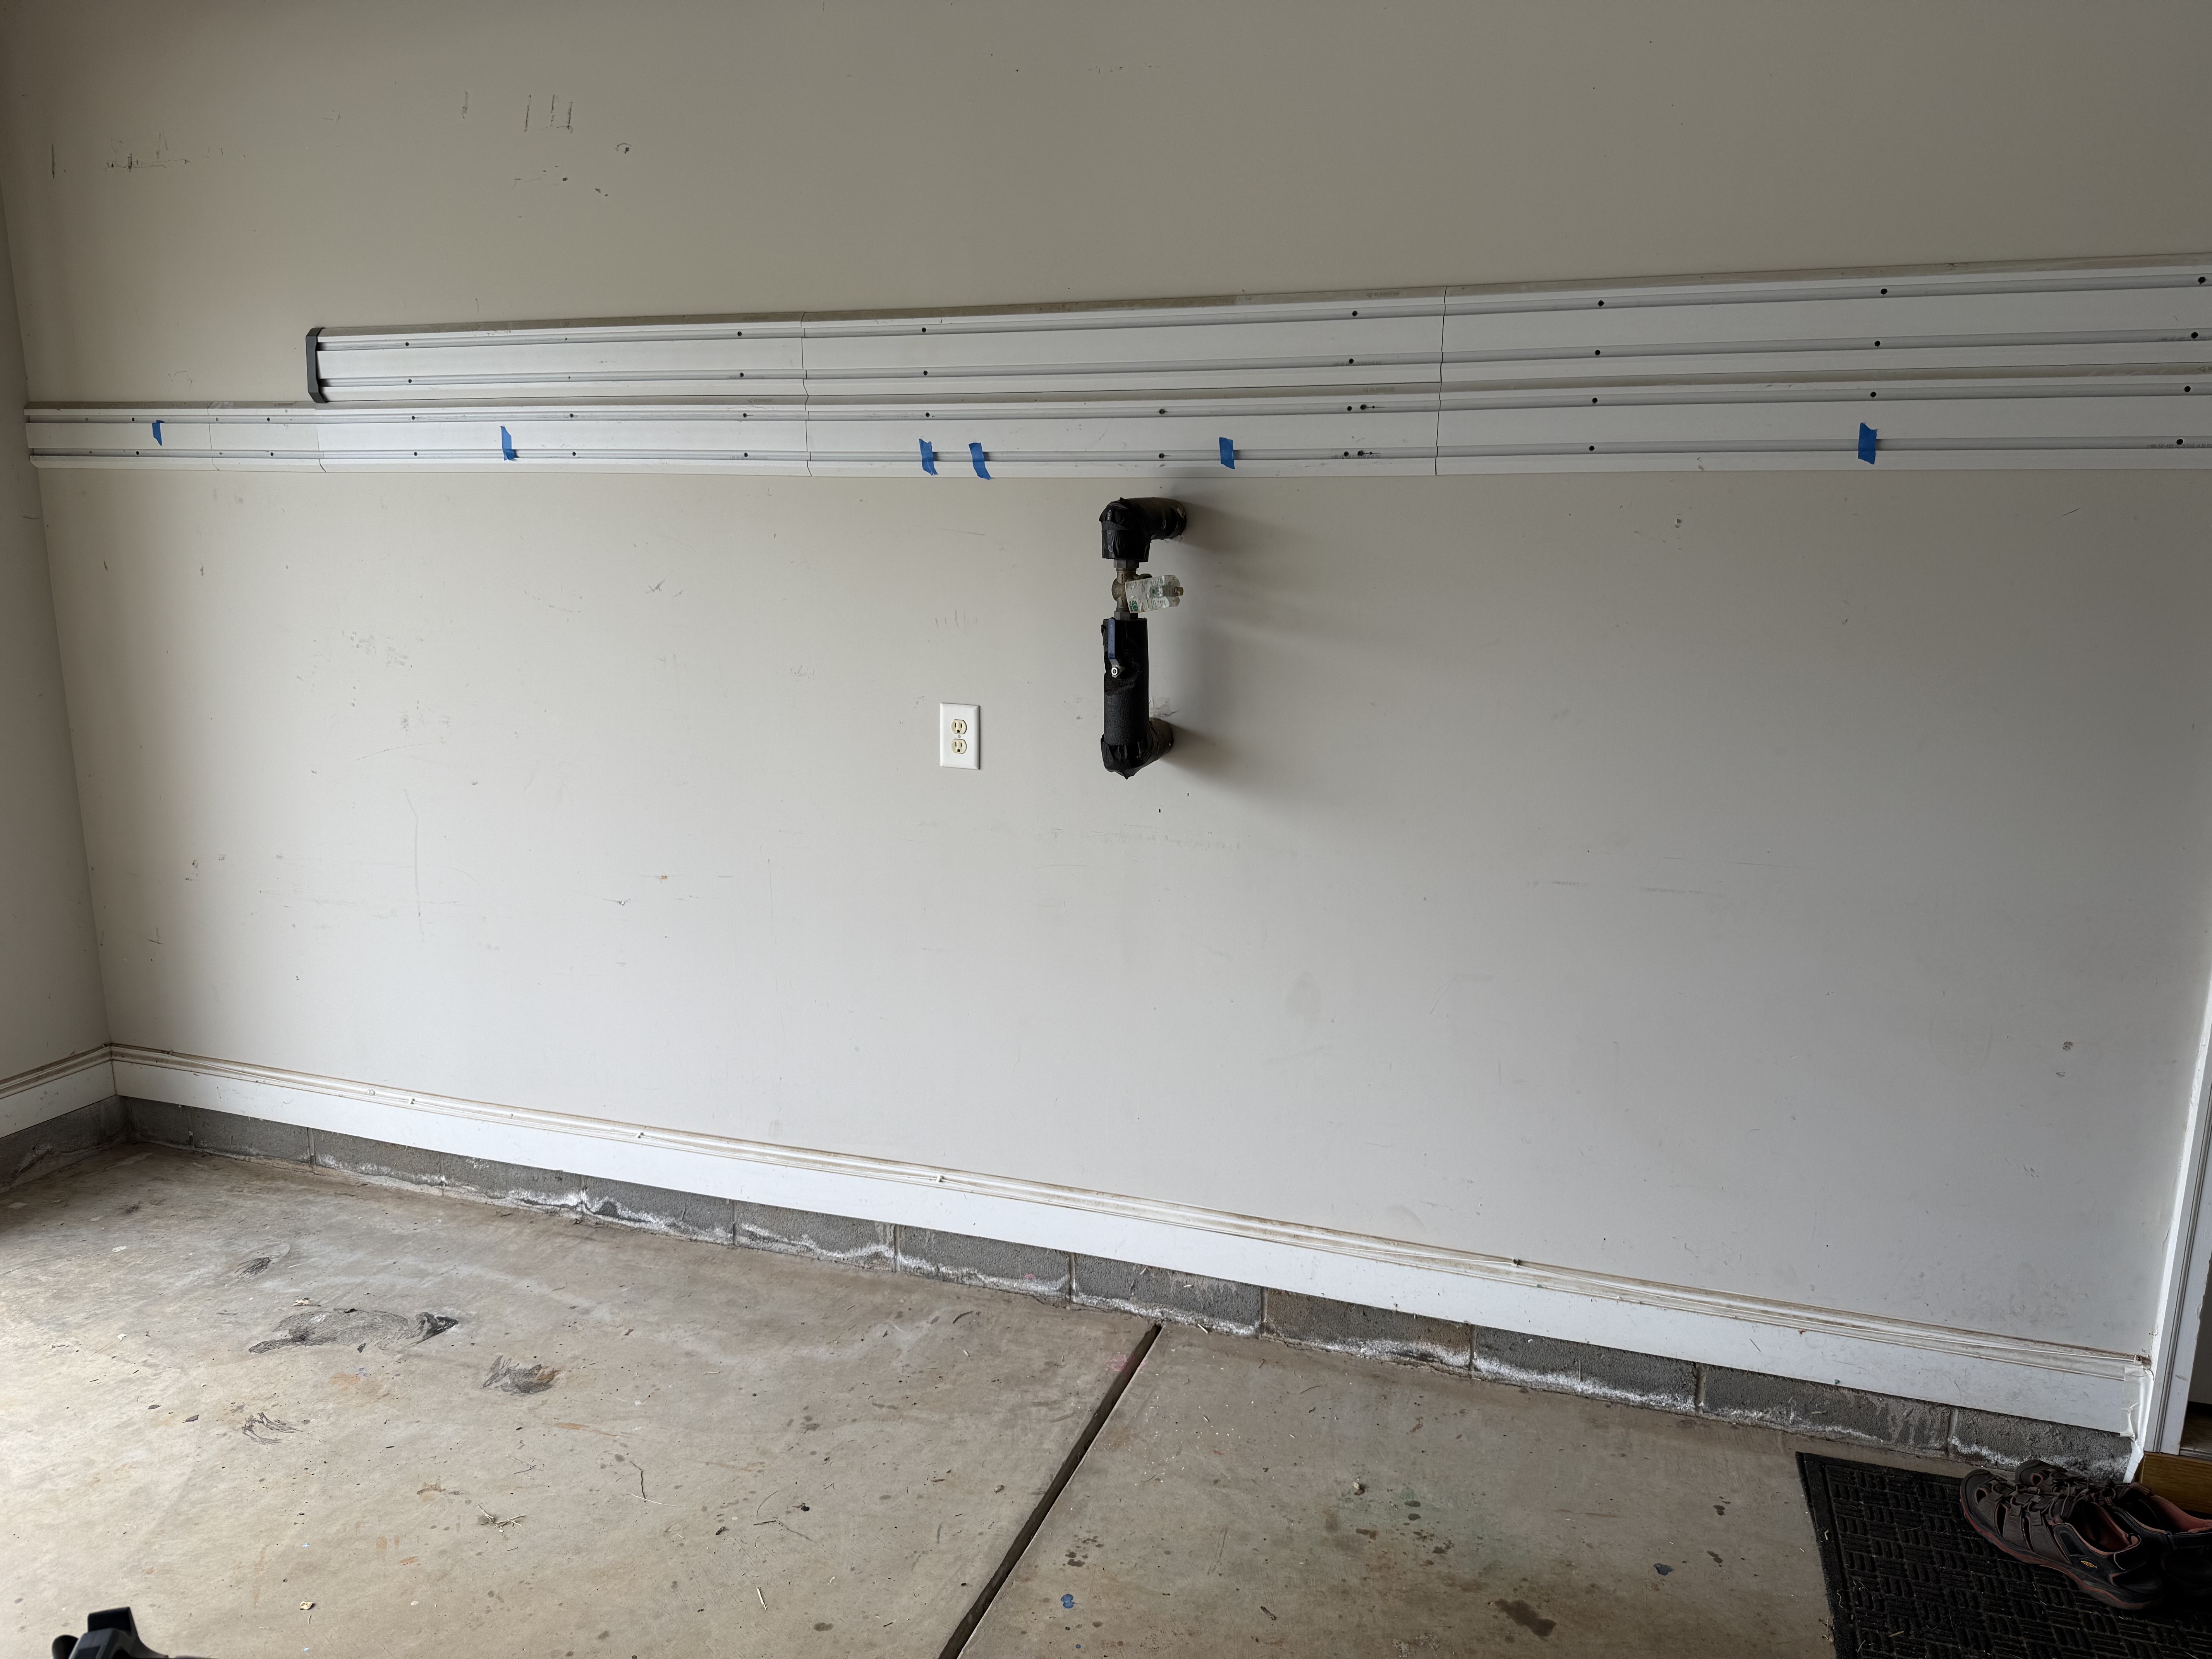
I wish I had taken a true before picture; those are Gladiator GearTrack channels, and had about 40 hooks holding enough shovels, rakes, and brooms to completely cover that wall. It was gross.
I started by taking those down, filling the holes, and sanding. Most of that will be behind the cabinets, so I don’t really care about the quality, as long as they’re clean and flat. I put up blue tape not to mark the tops of the cabinets, just where each one will sit. I went with three 39″ and one 19″, all 79″ high:
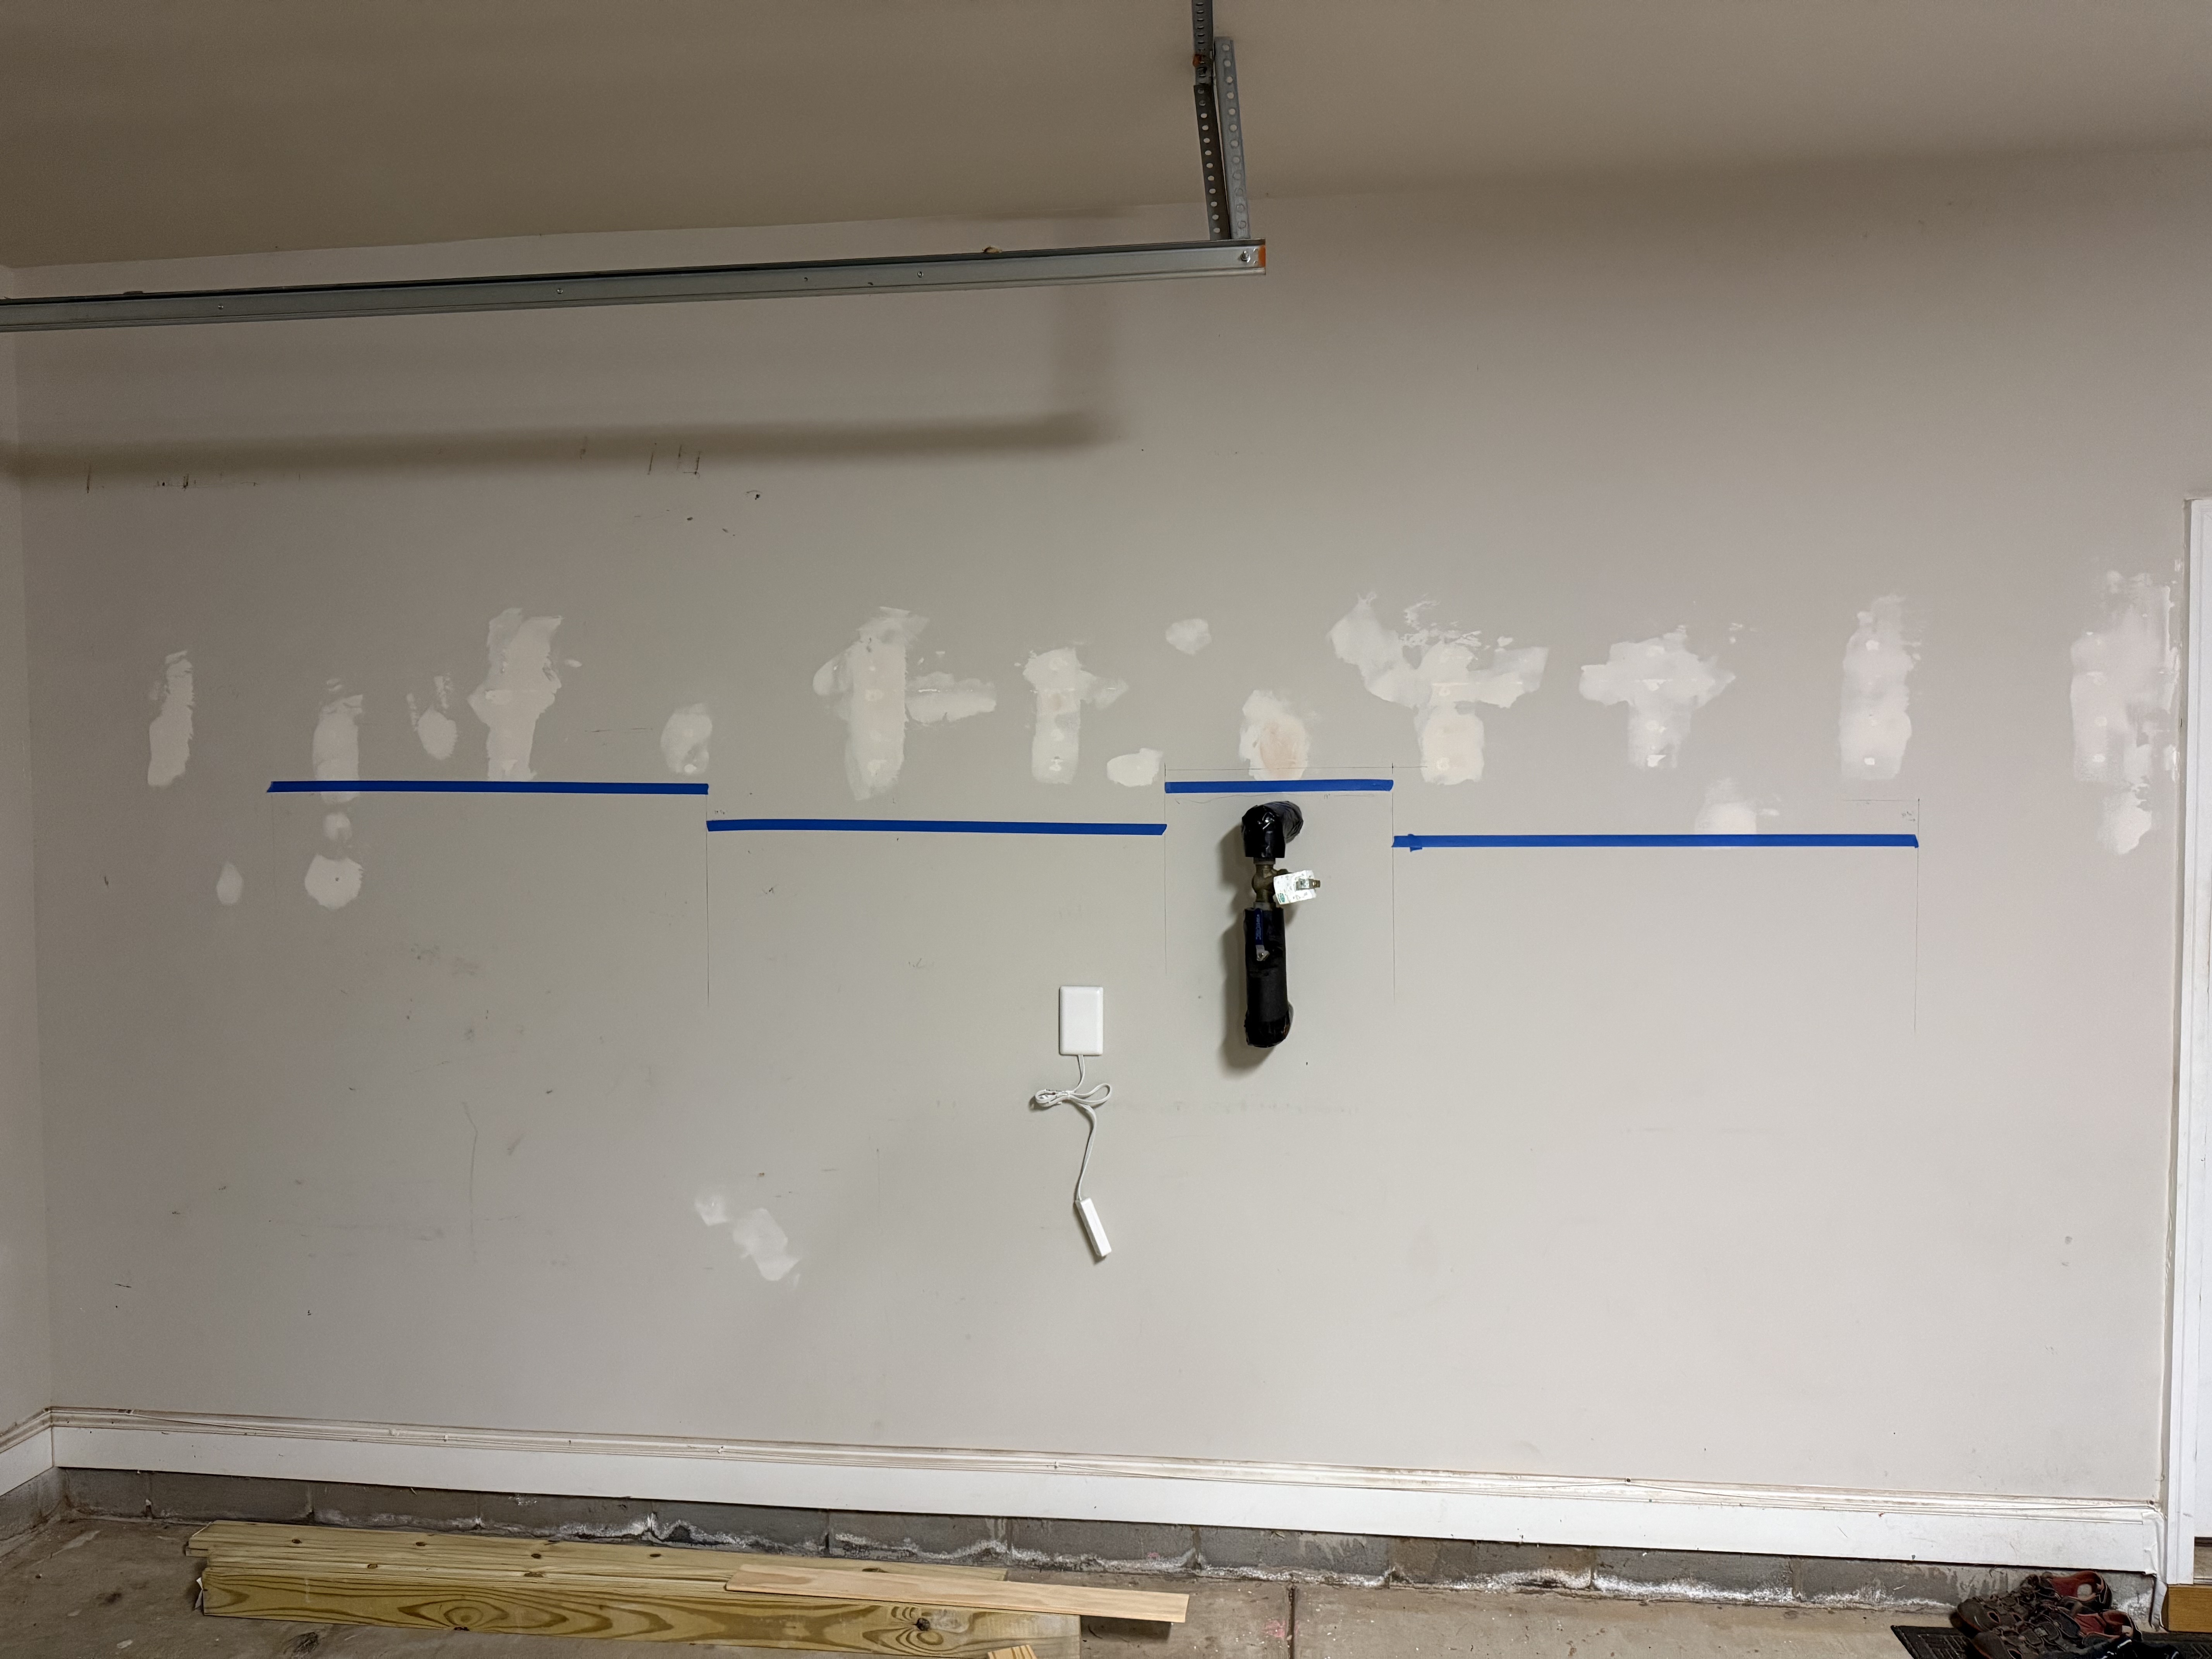
You can see I have three obstacles to deal with, in addition to the molding:
- An outlet – I plan to run the wire through the cabinet, and mount a much larger 20A strip outside (probably a Tripp Lite Isobar).
- Water shutoff – I plan to cut a hole in the back of the 19″ cabinet that will go there, and just have it hidden inside the cabinet, creating a little bit of unusable space. But worth it to eliminate an eyesore.
- The AT&T fiber cable pinned to the top of the baseboard – This should be able to just run behind the cabinets, since they will not be flush to the wall.
I started measuring the framing. While the PAX can sit on the floor, I wanted them up on a box, because garage floors are usually slight sloped toward the door(s). Putting them on framing would mean the cabinets themselves would be better protected from any water that got in there, and also would make it easier for me to level them all together.
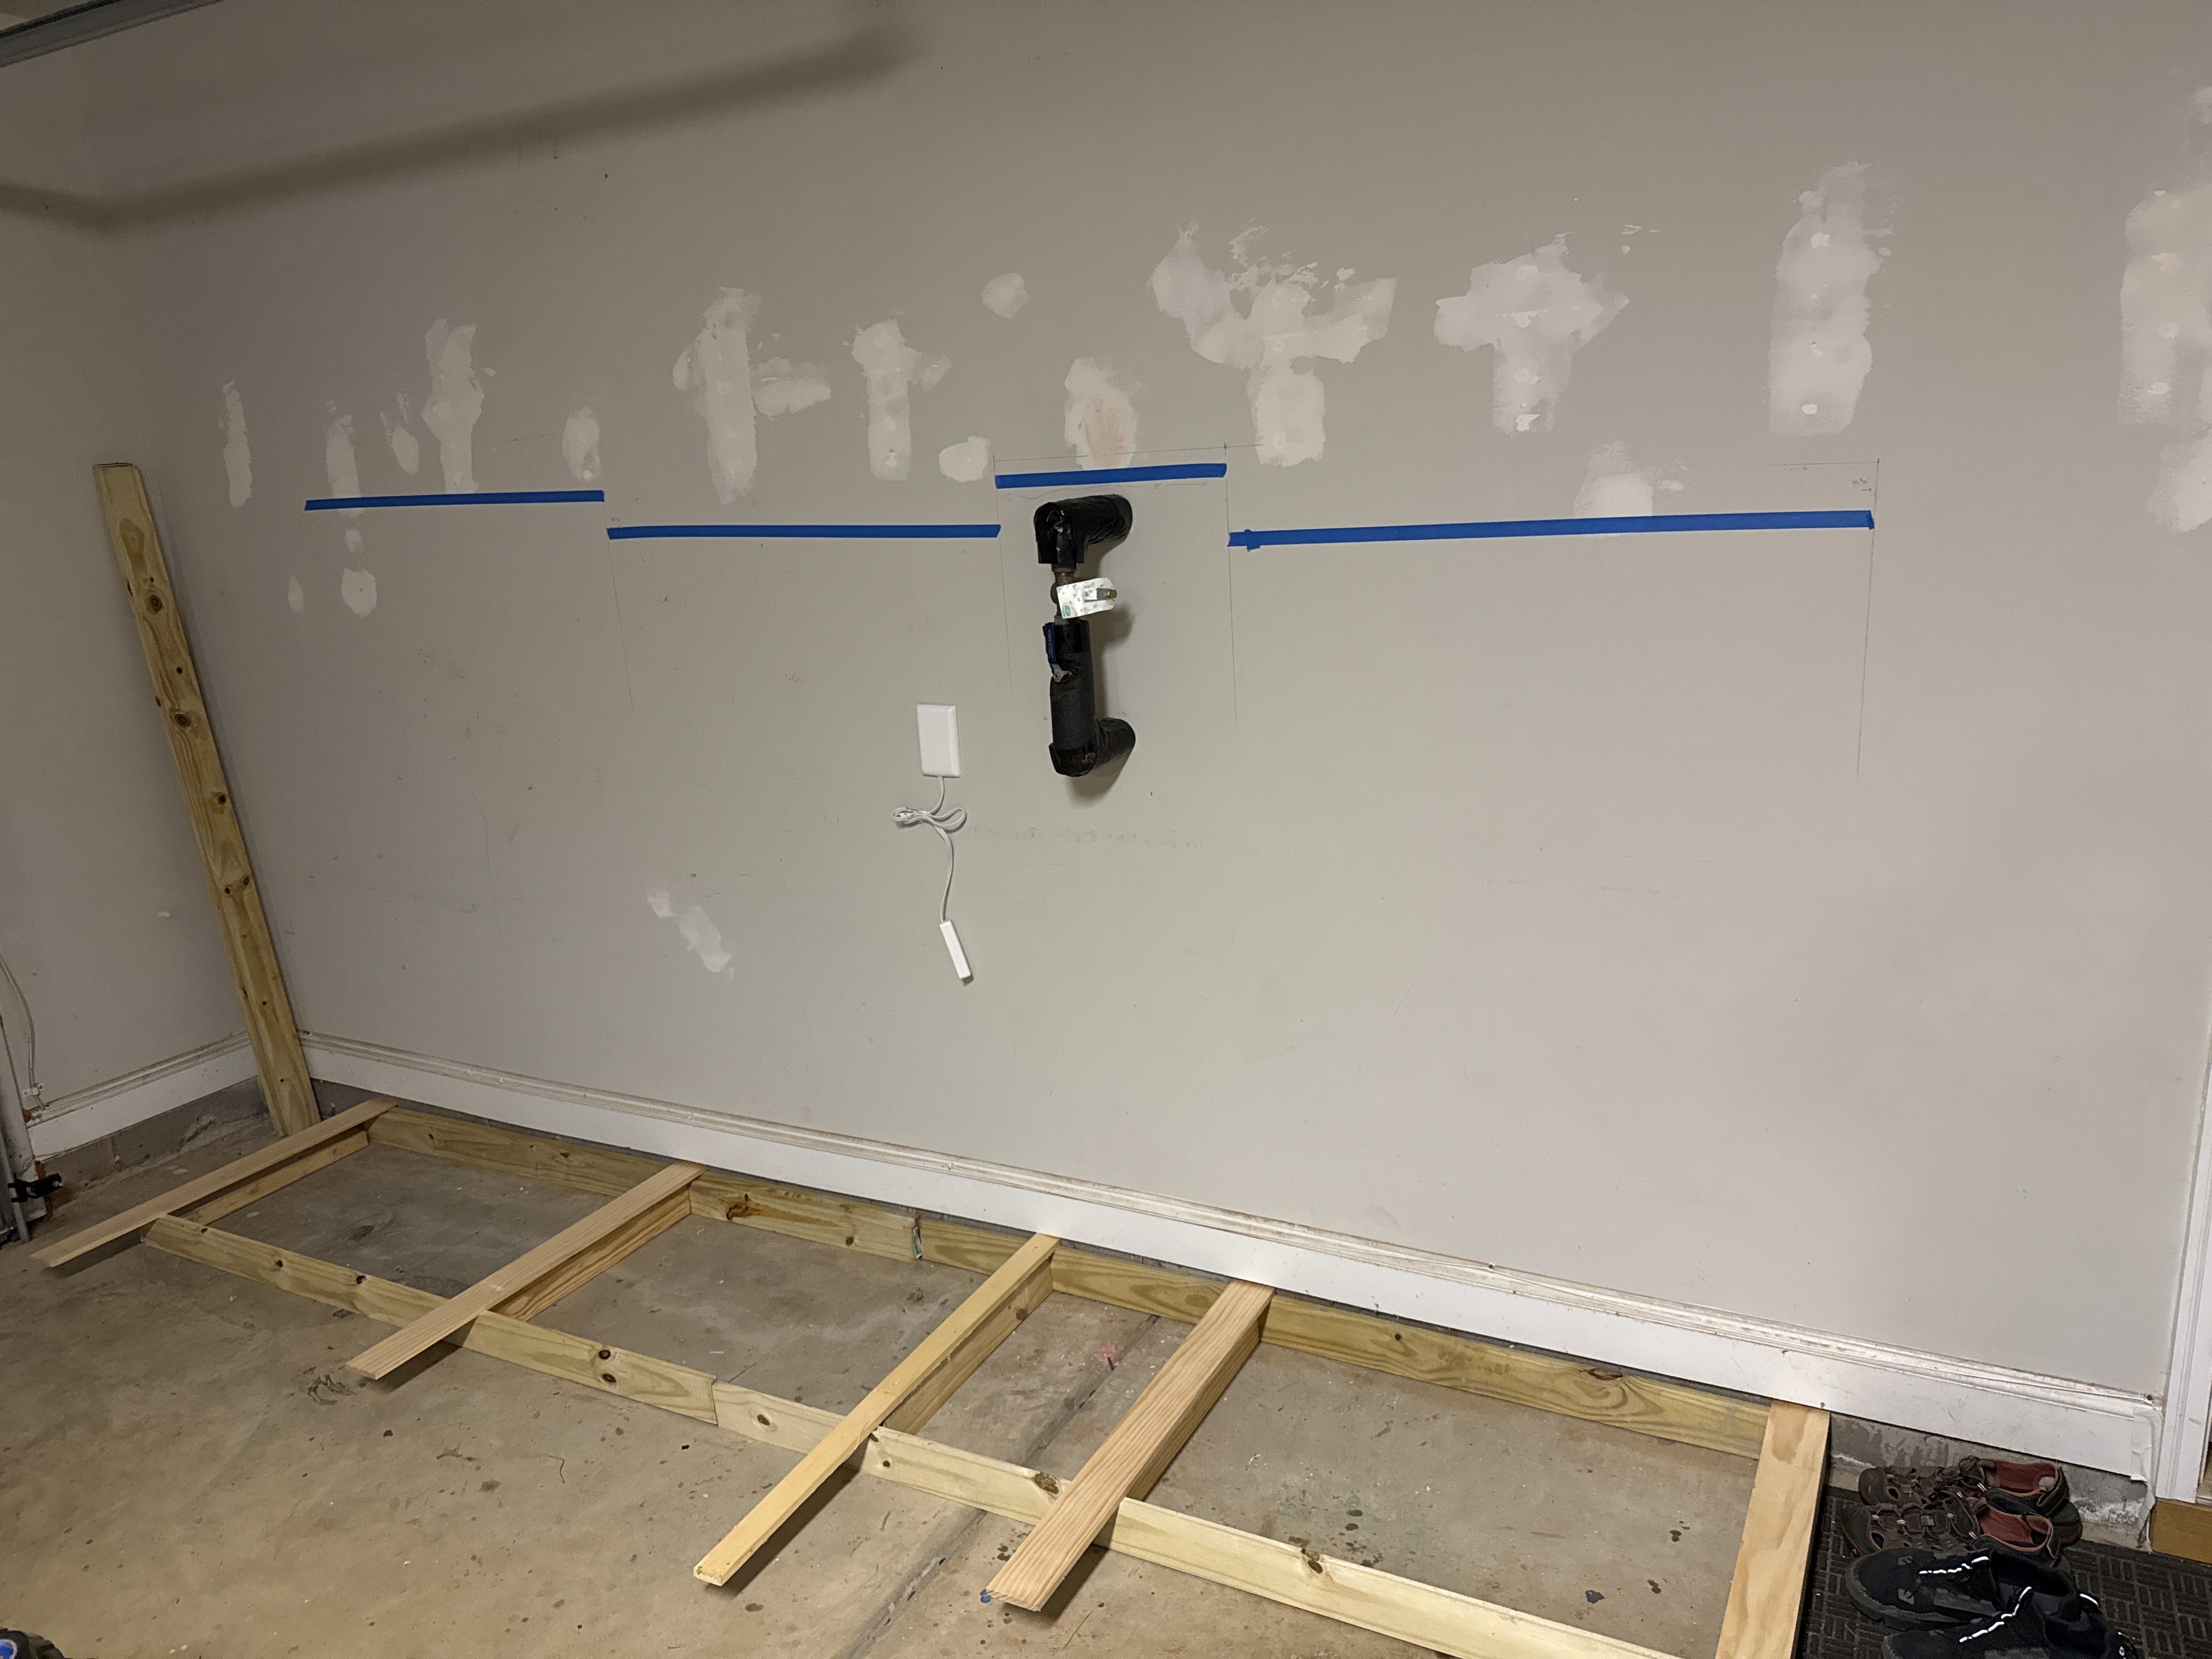
One problem with this is I’m not super comfortable securing that wood to the brick. So I’ll use a couple of joiners to the studs to keep it stable until there is some weight on it. After that, the framing isn’t moving, and the cabinets holding it down will all be secured to the wall.
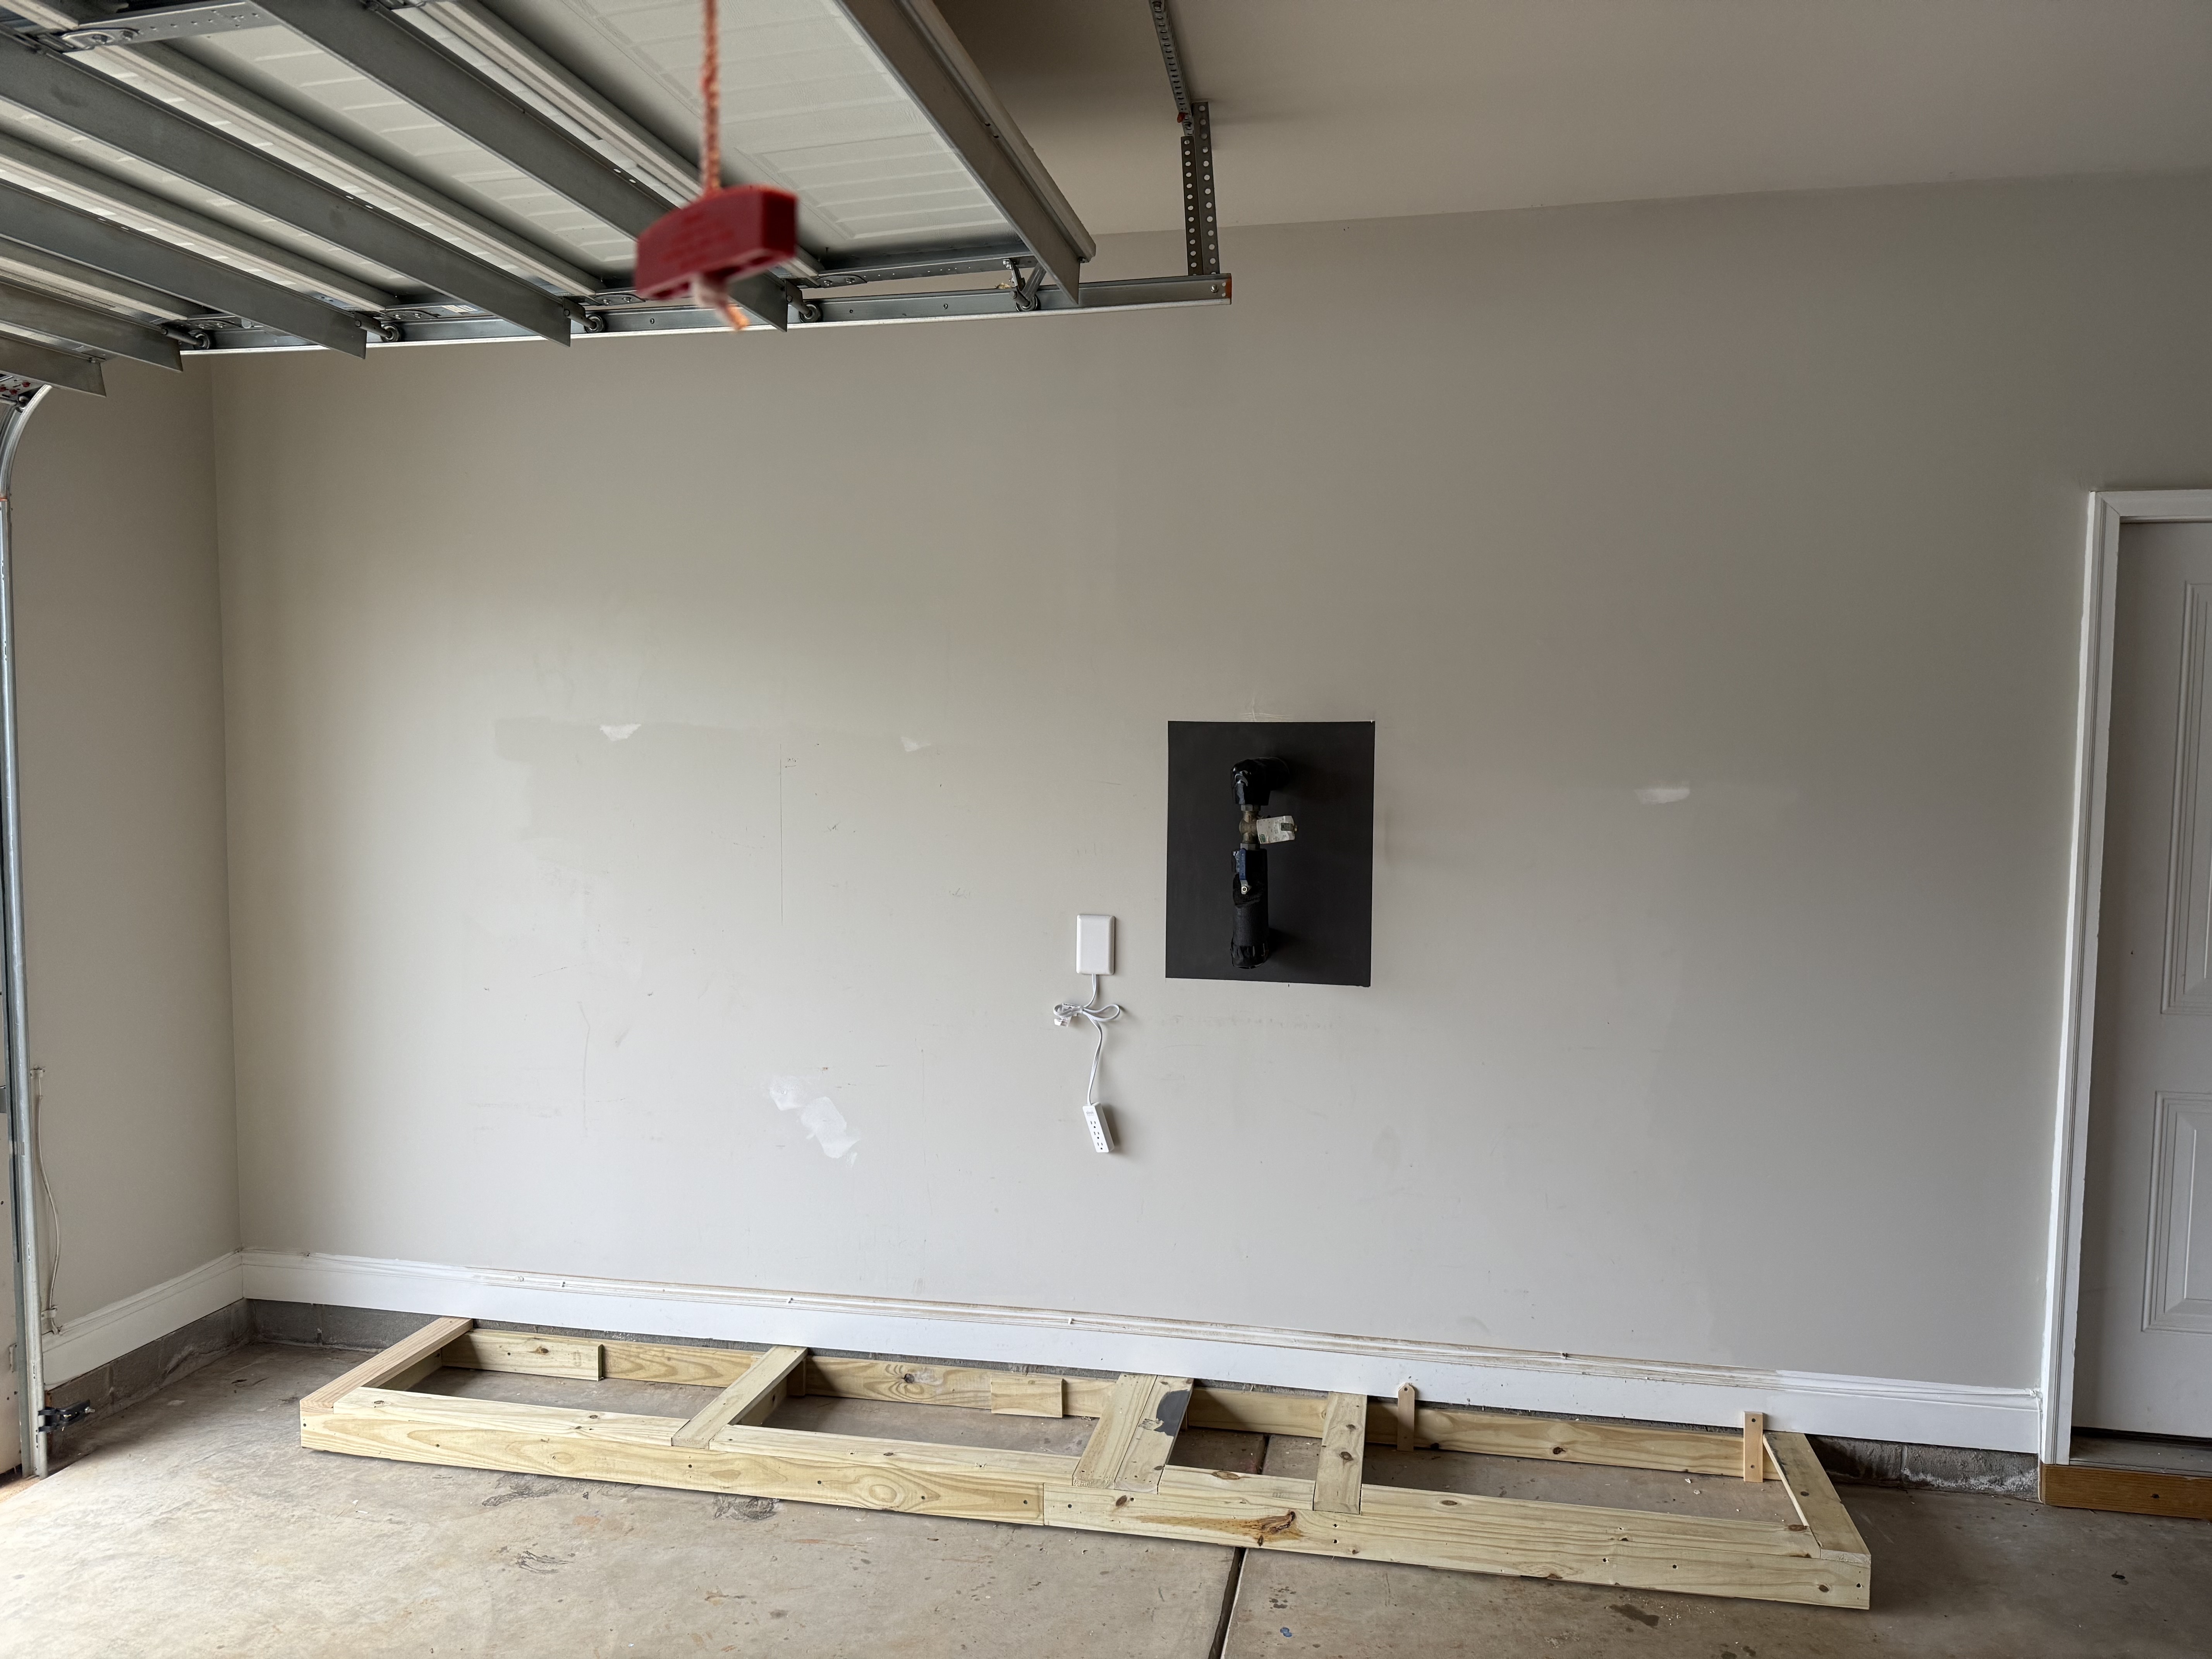
Here’s a progress shot with the framing almost done, fresh paint on the walls and baseboards where it matters, and the wall surrounding the water valve painted a color match to the dark grey cabinets (Benjamin Moore Iron Mountain satin) so it can show through the hole I’ll cut in the back of that cabinet.
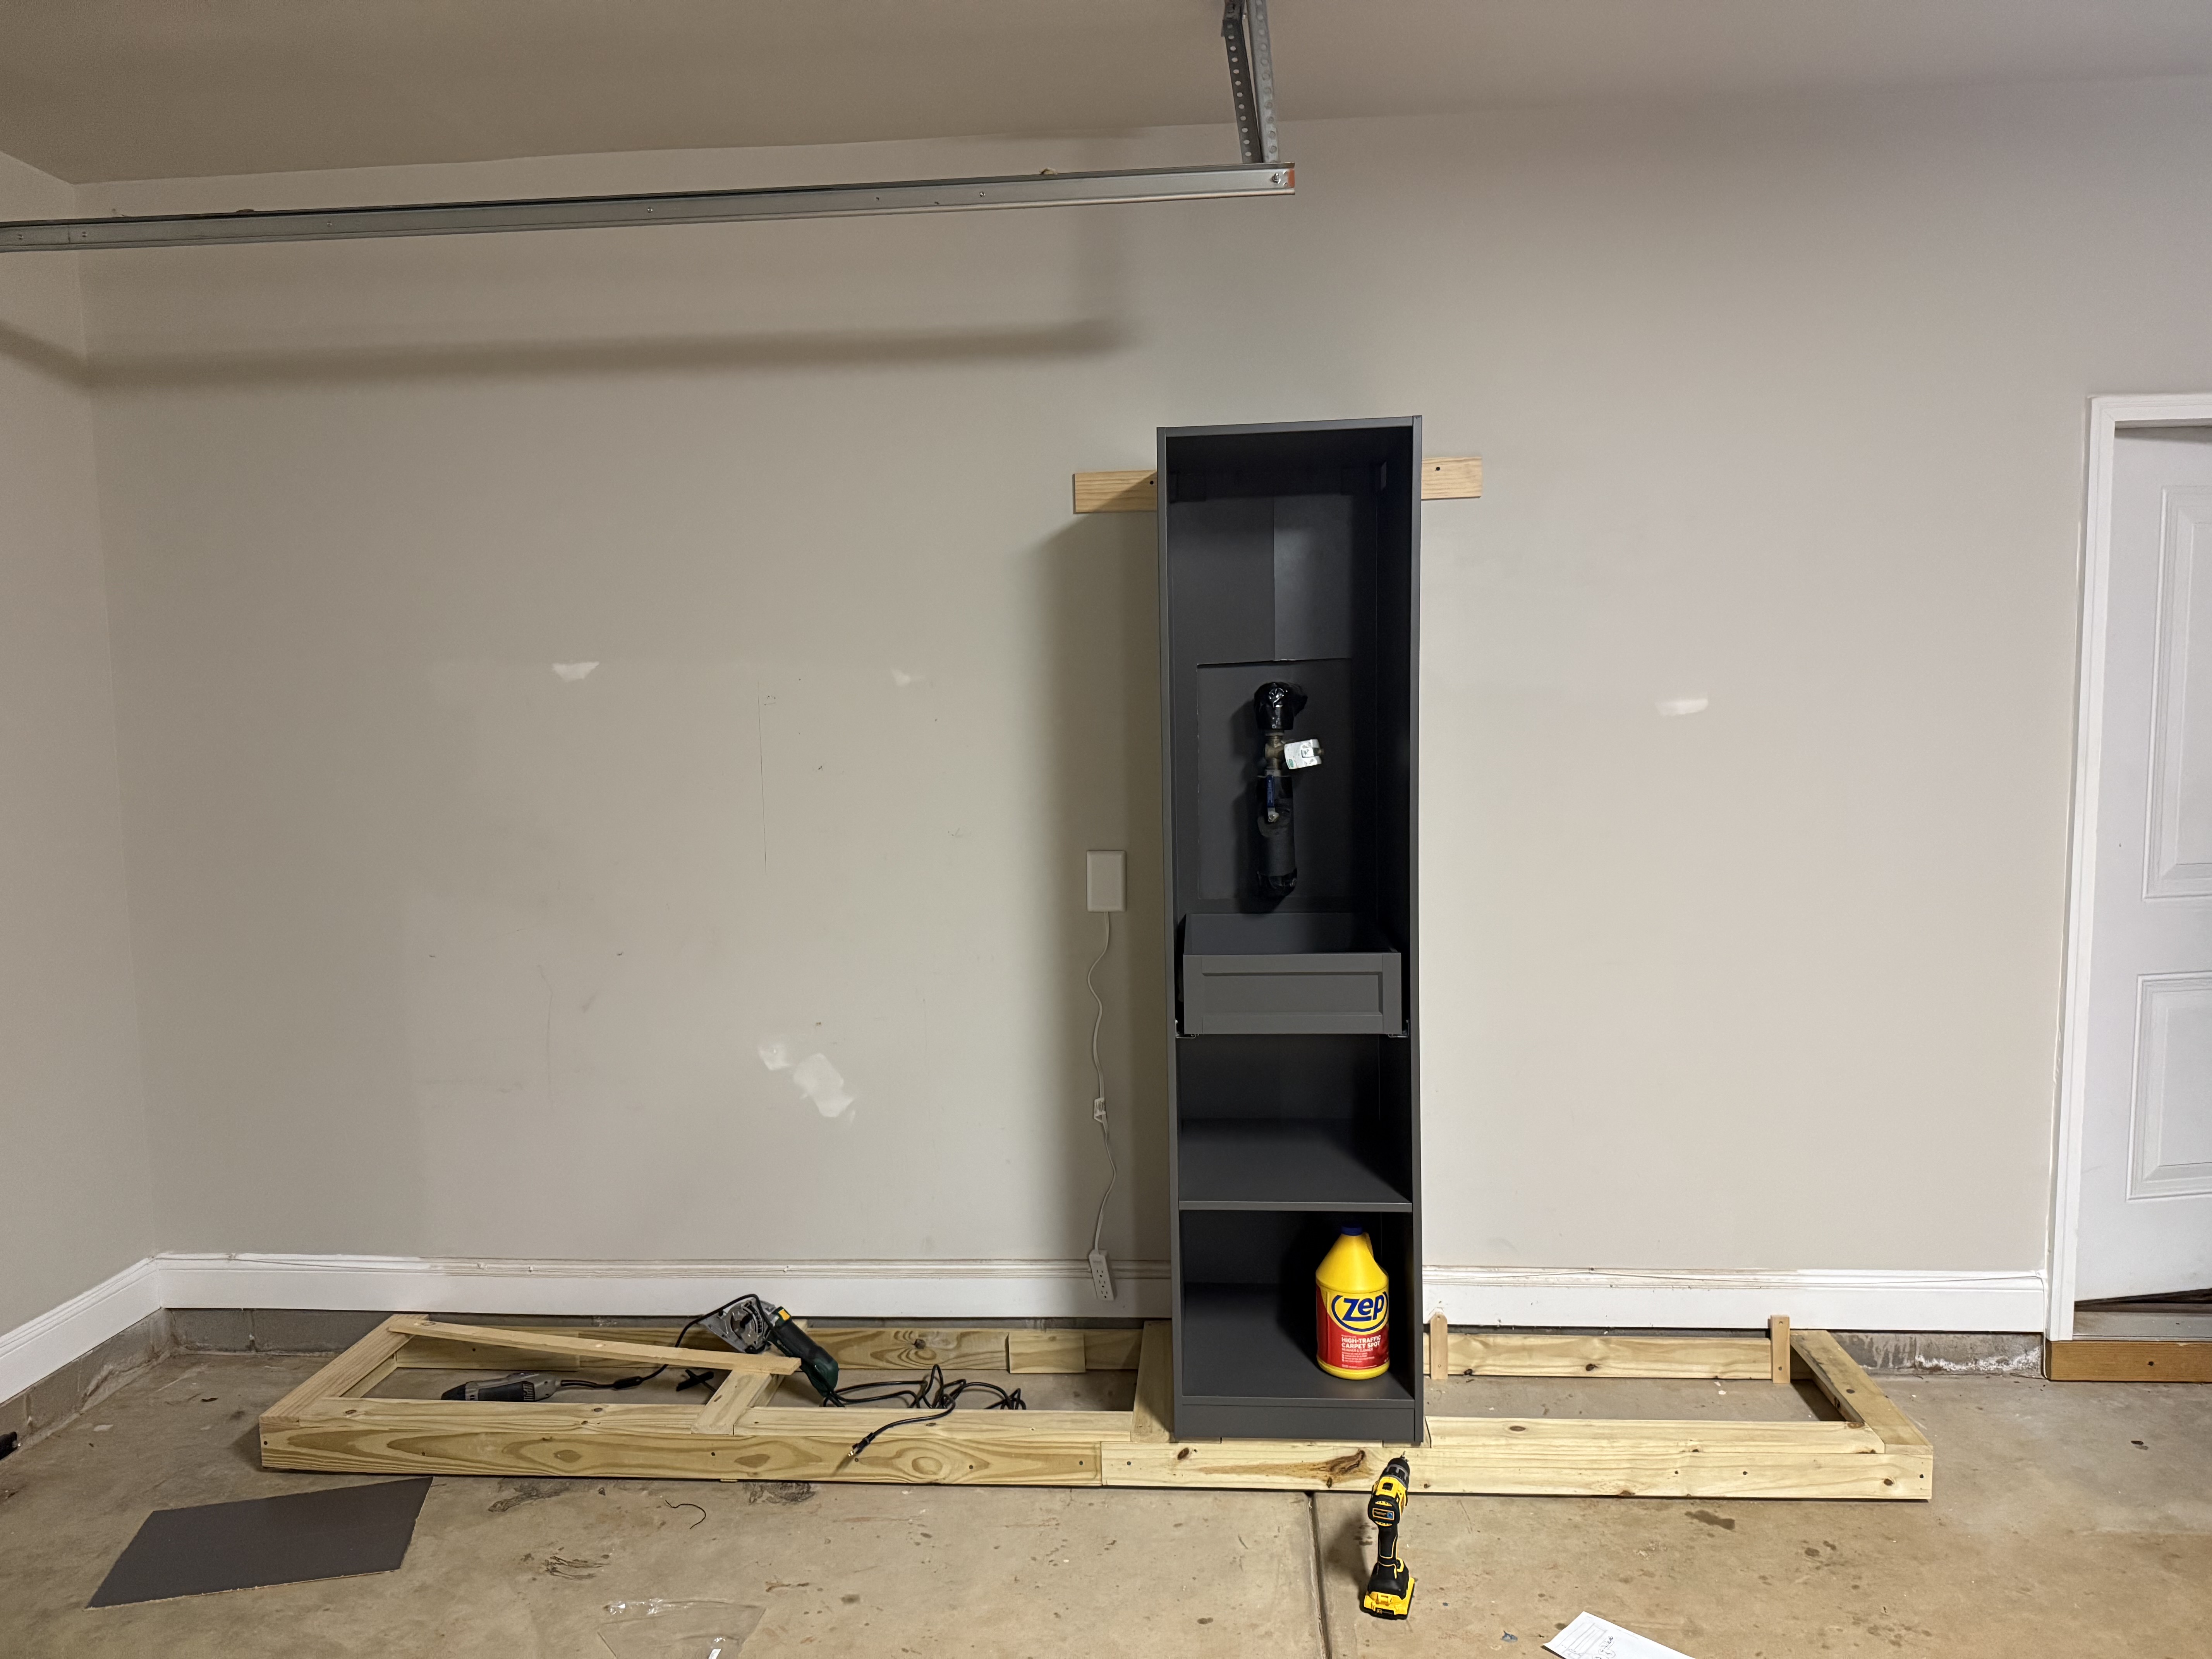
And here is the first 19″ wide cabinet in place, with one shelf and one drawer installed:
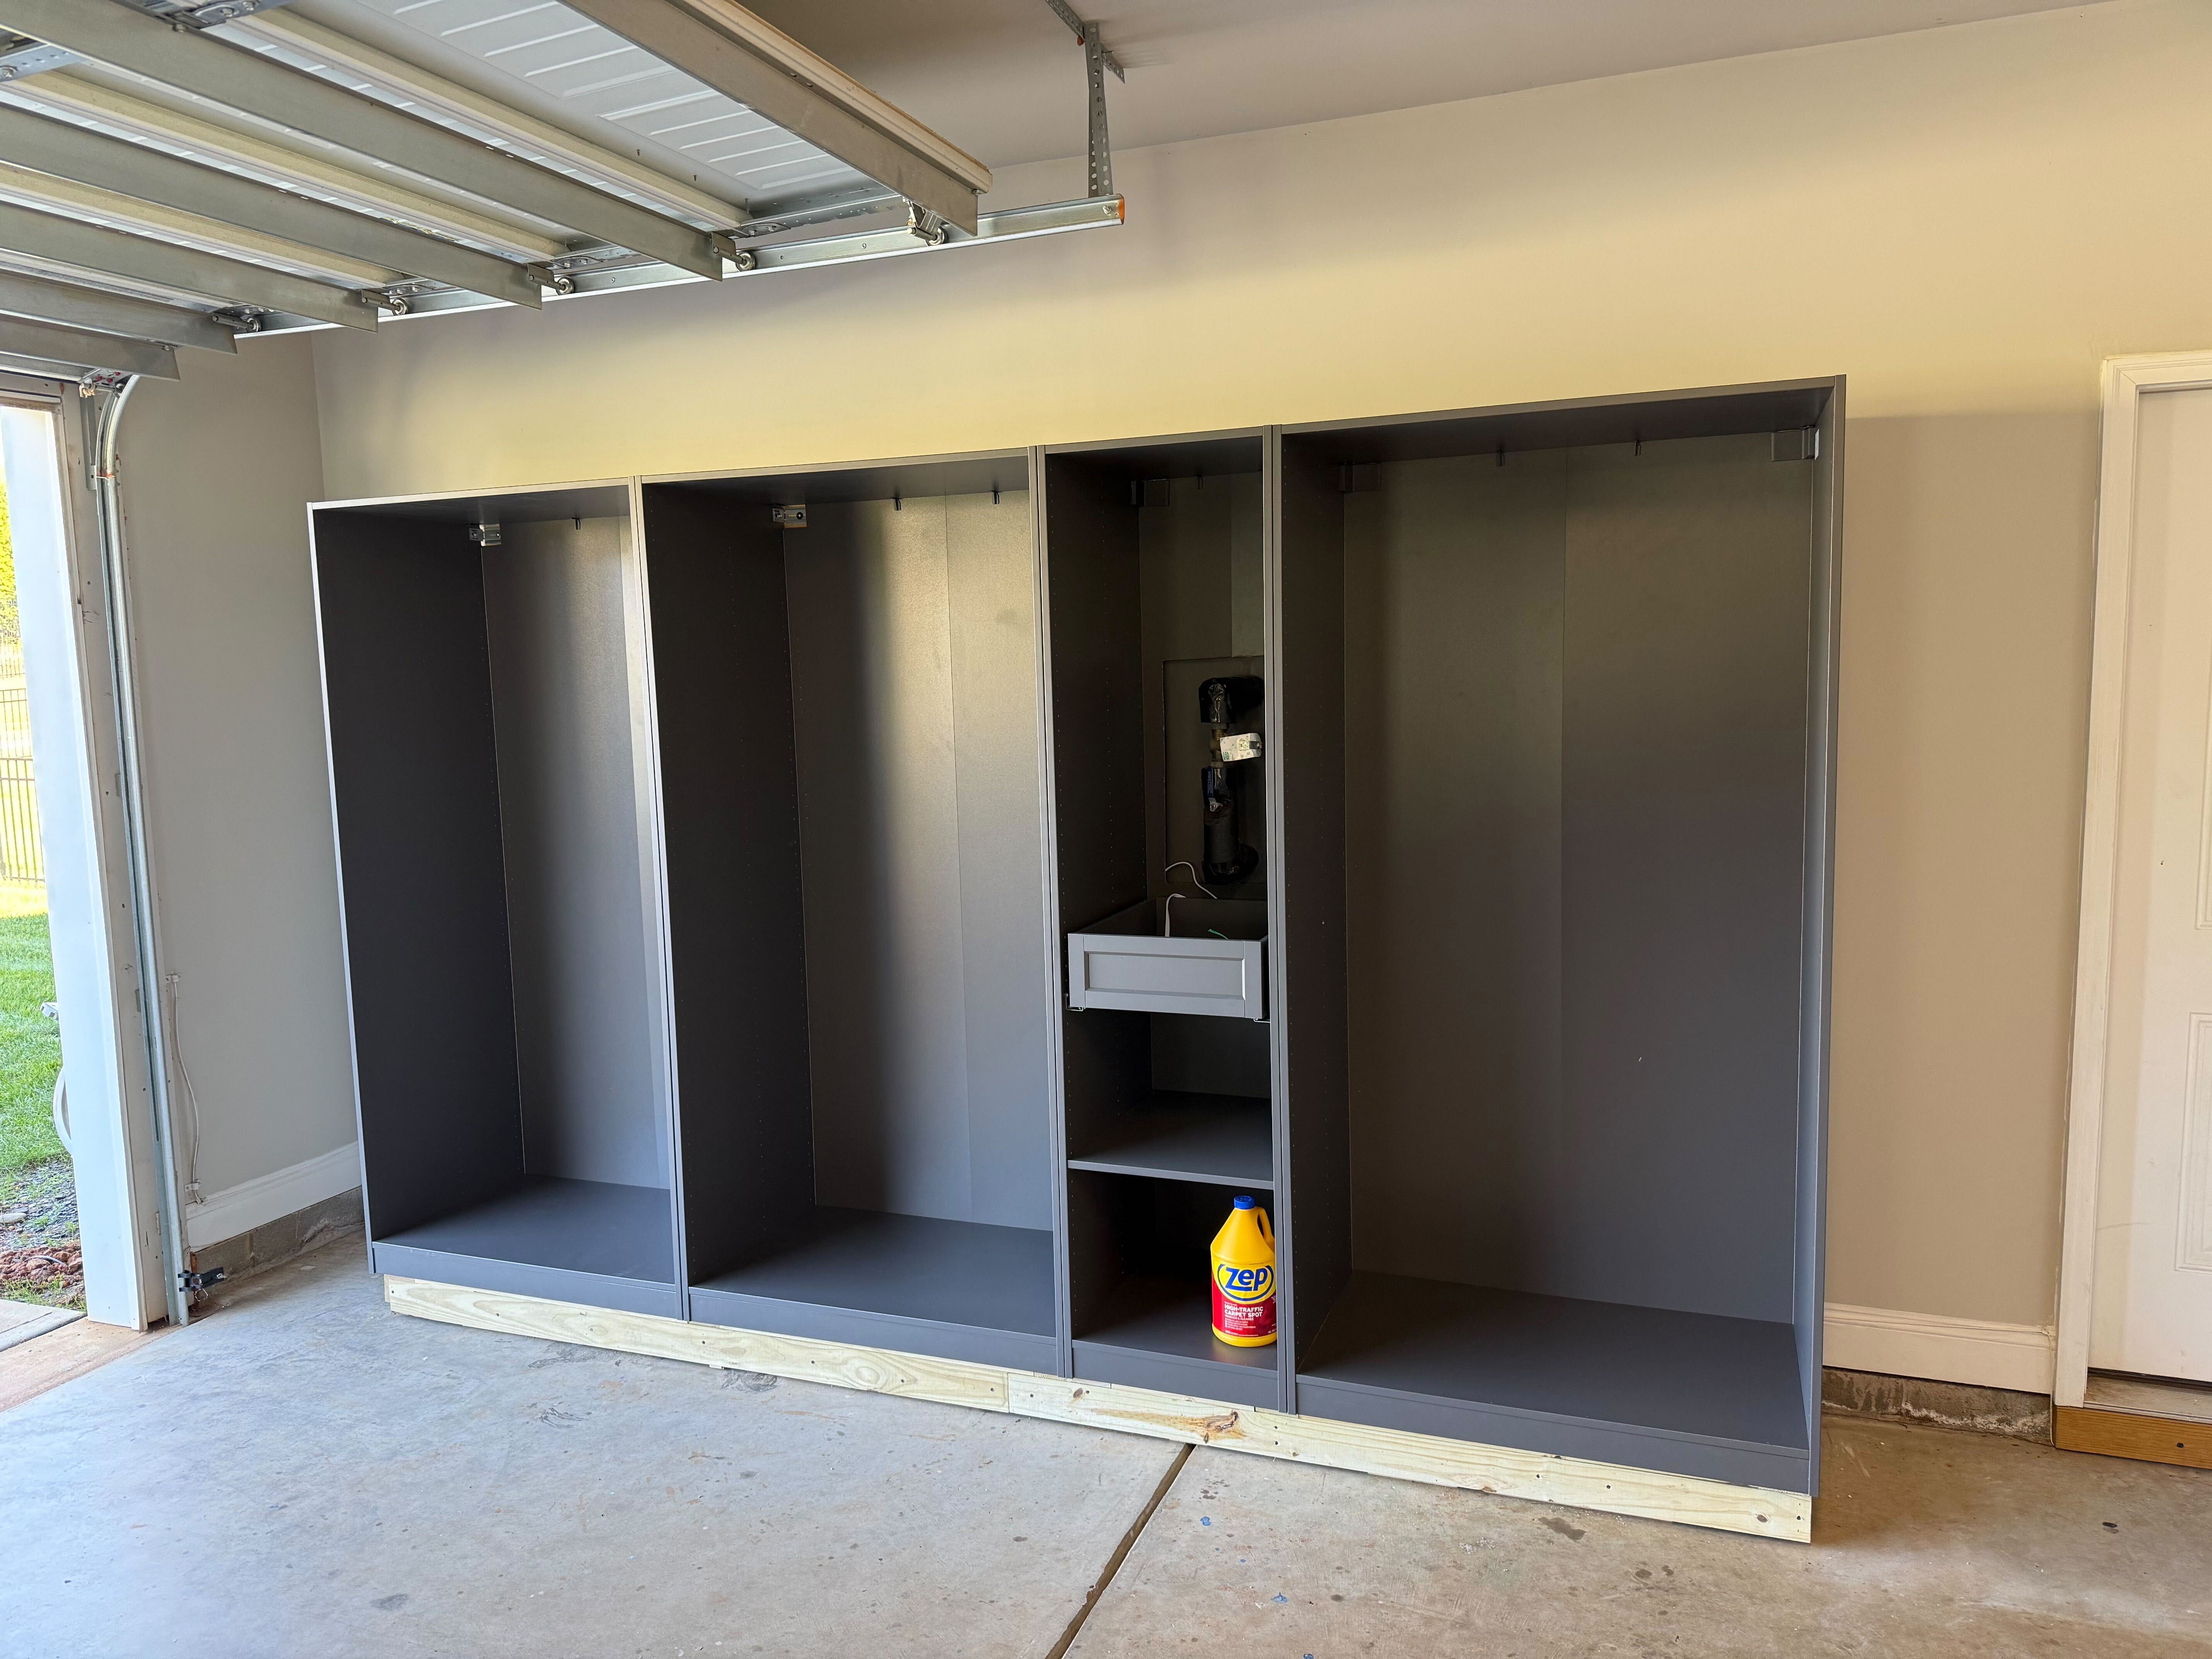
The next three chassis went up pretty quickly:
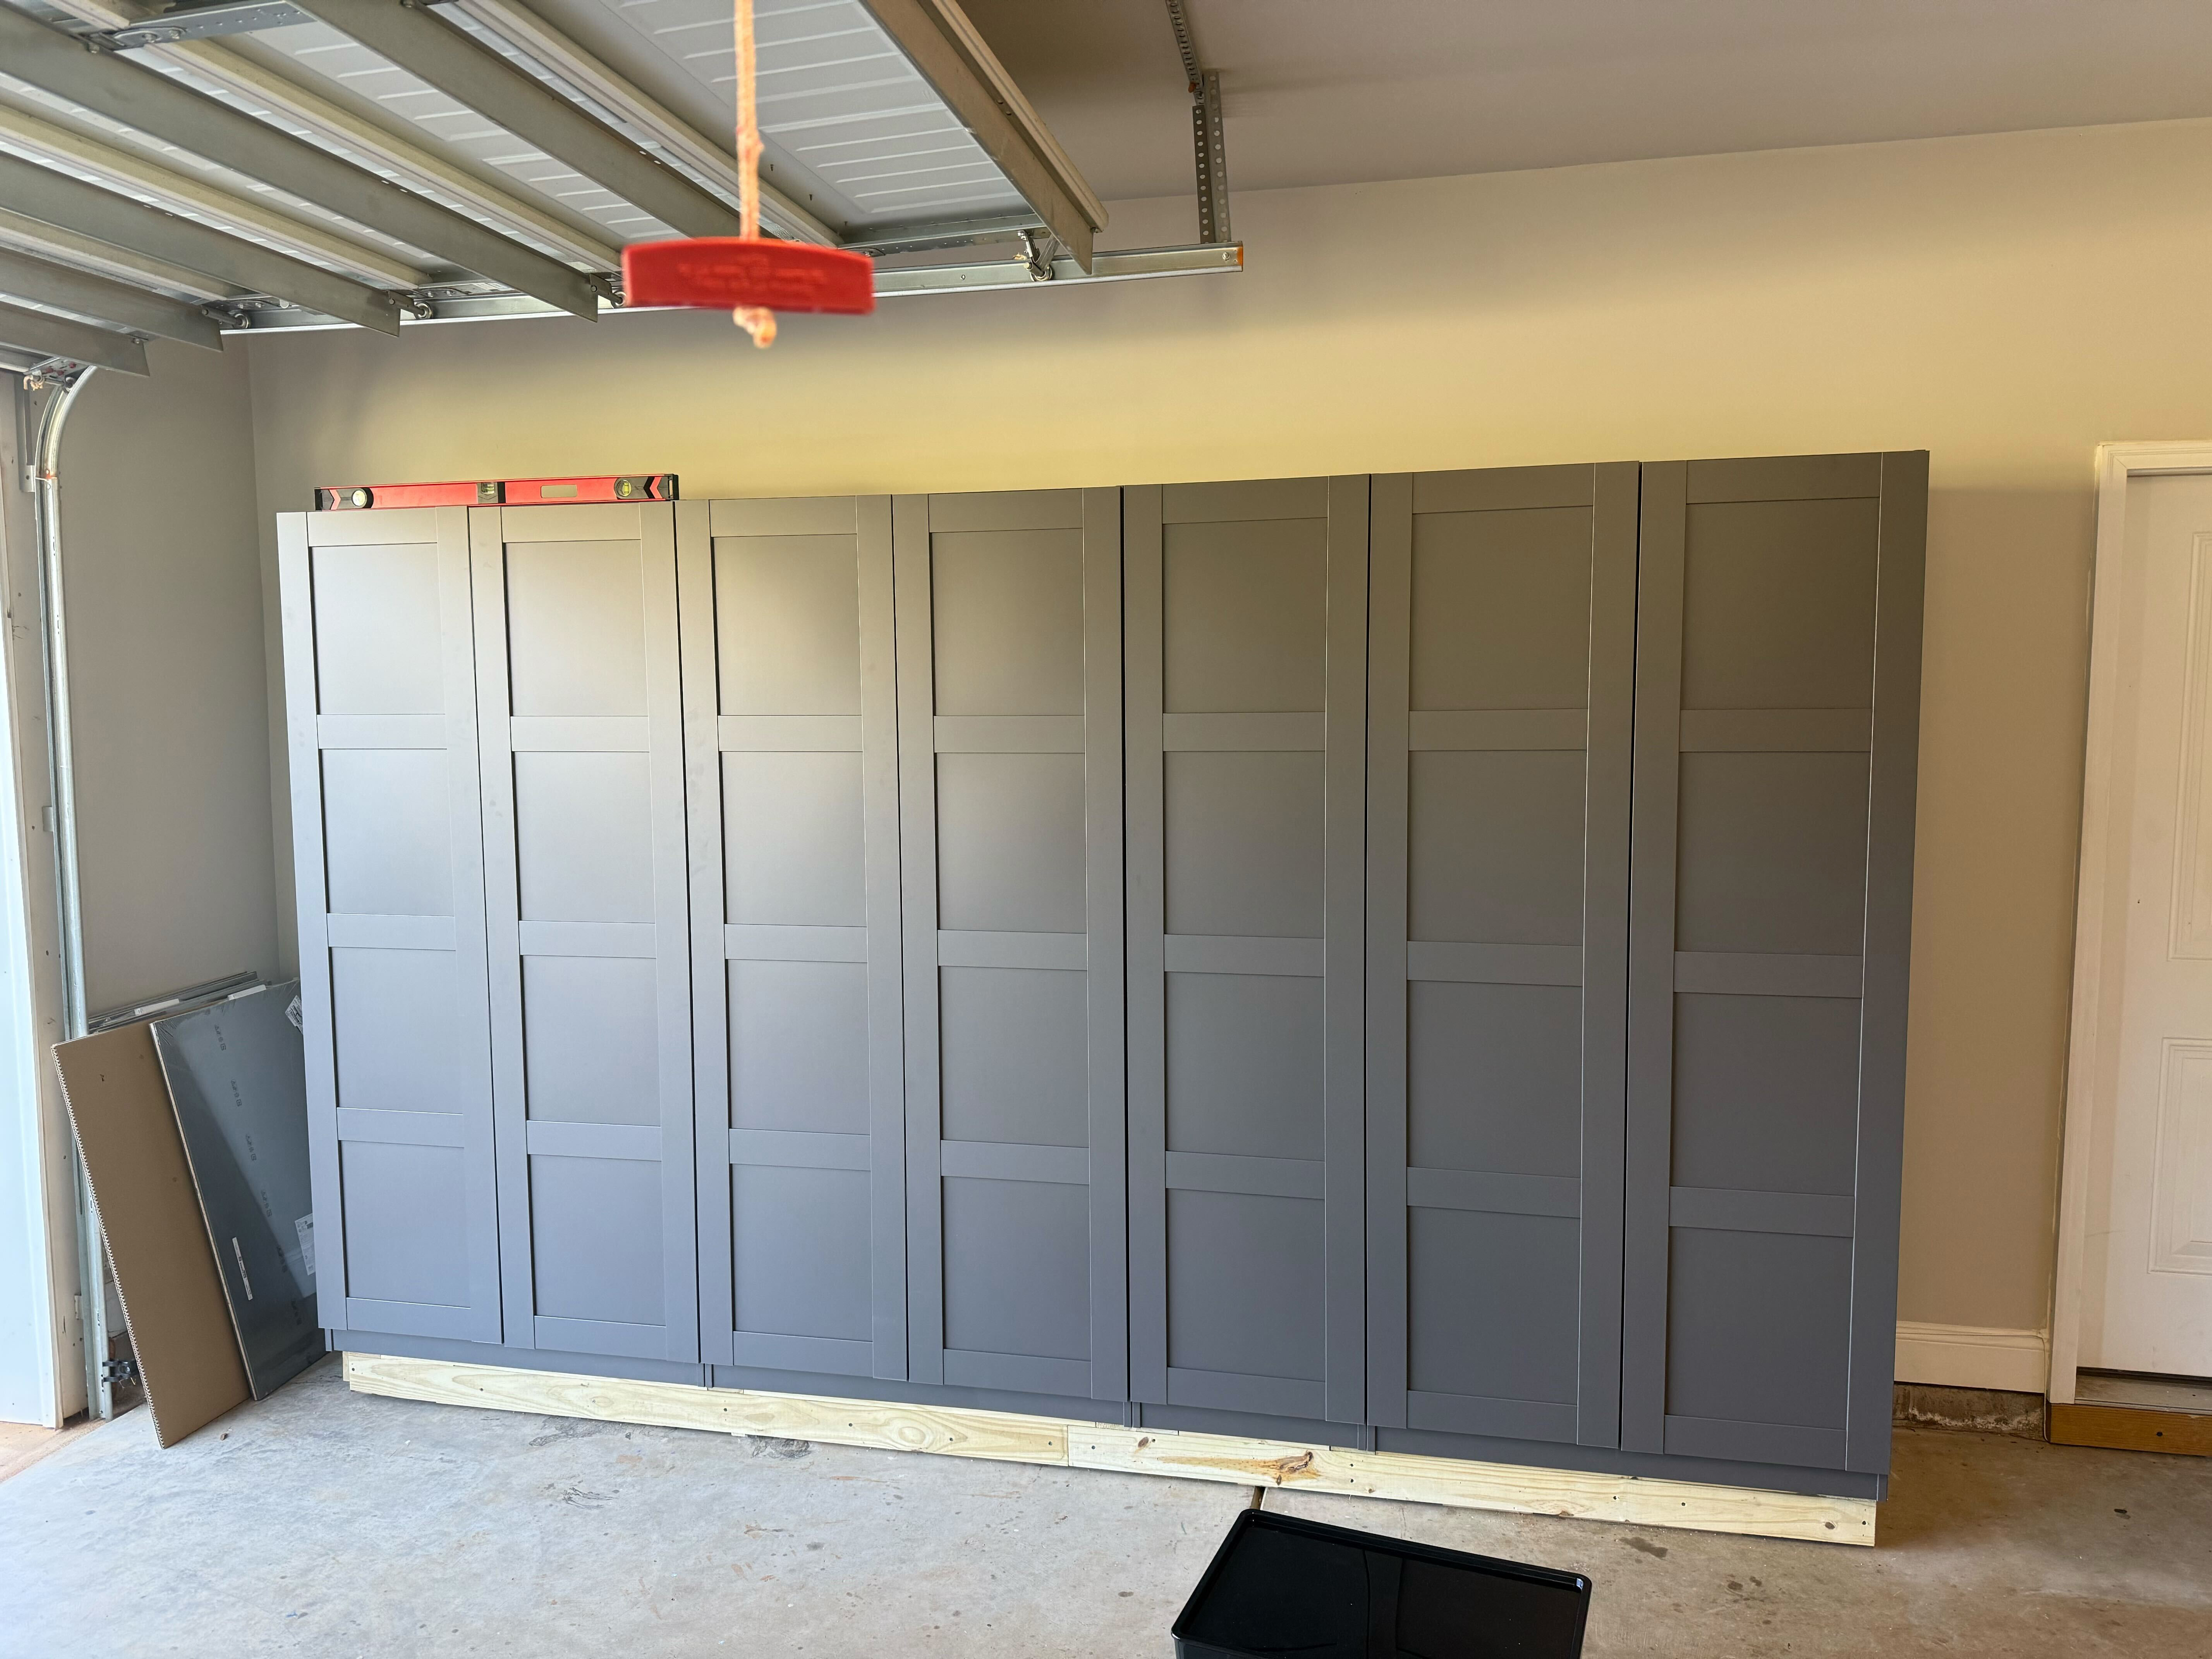
Then I put on the doors:
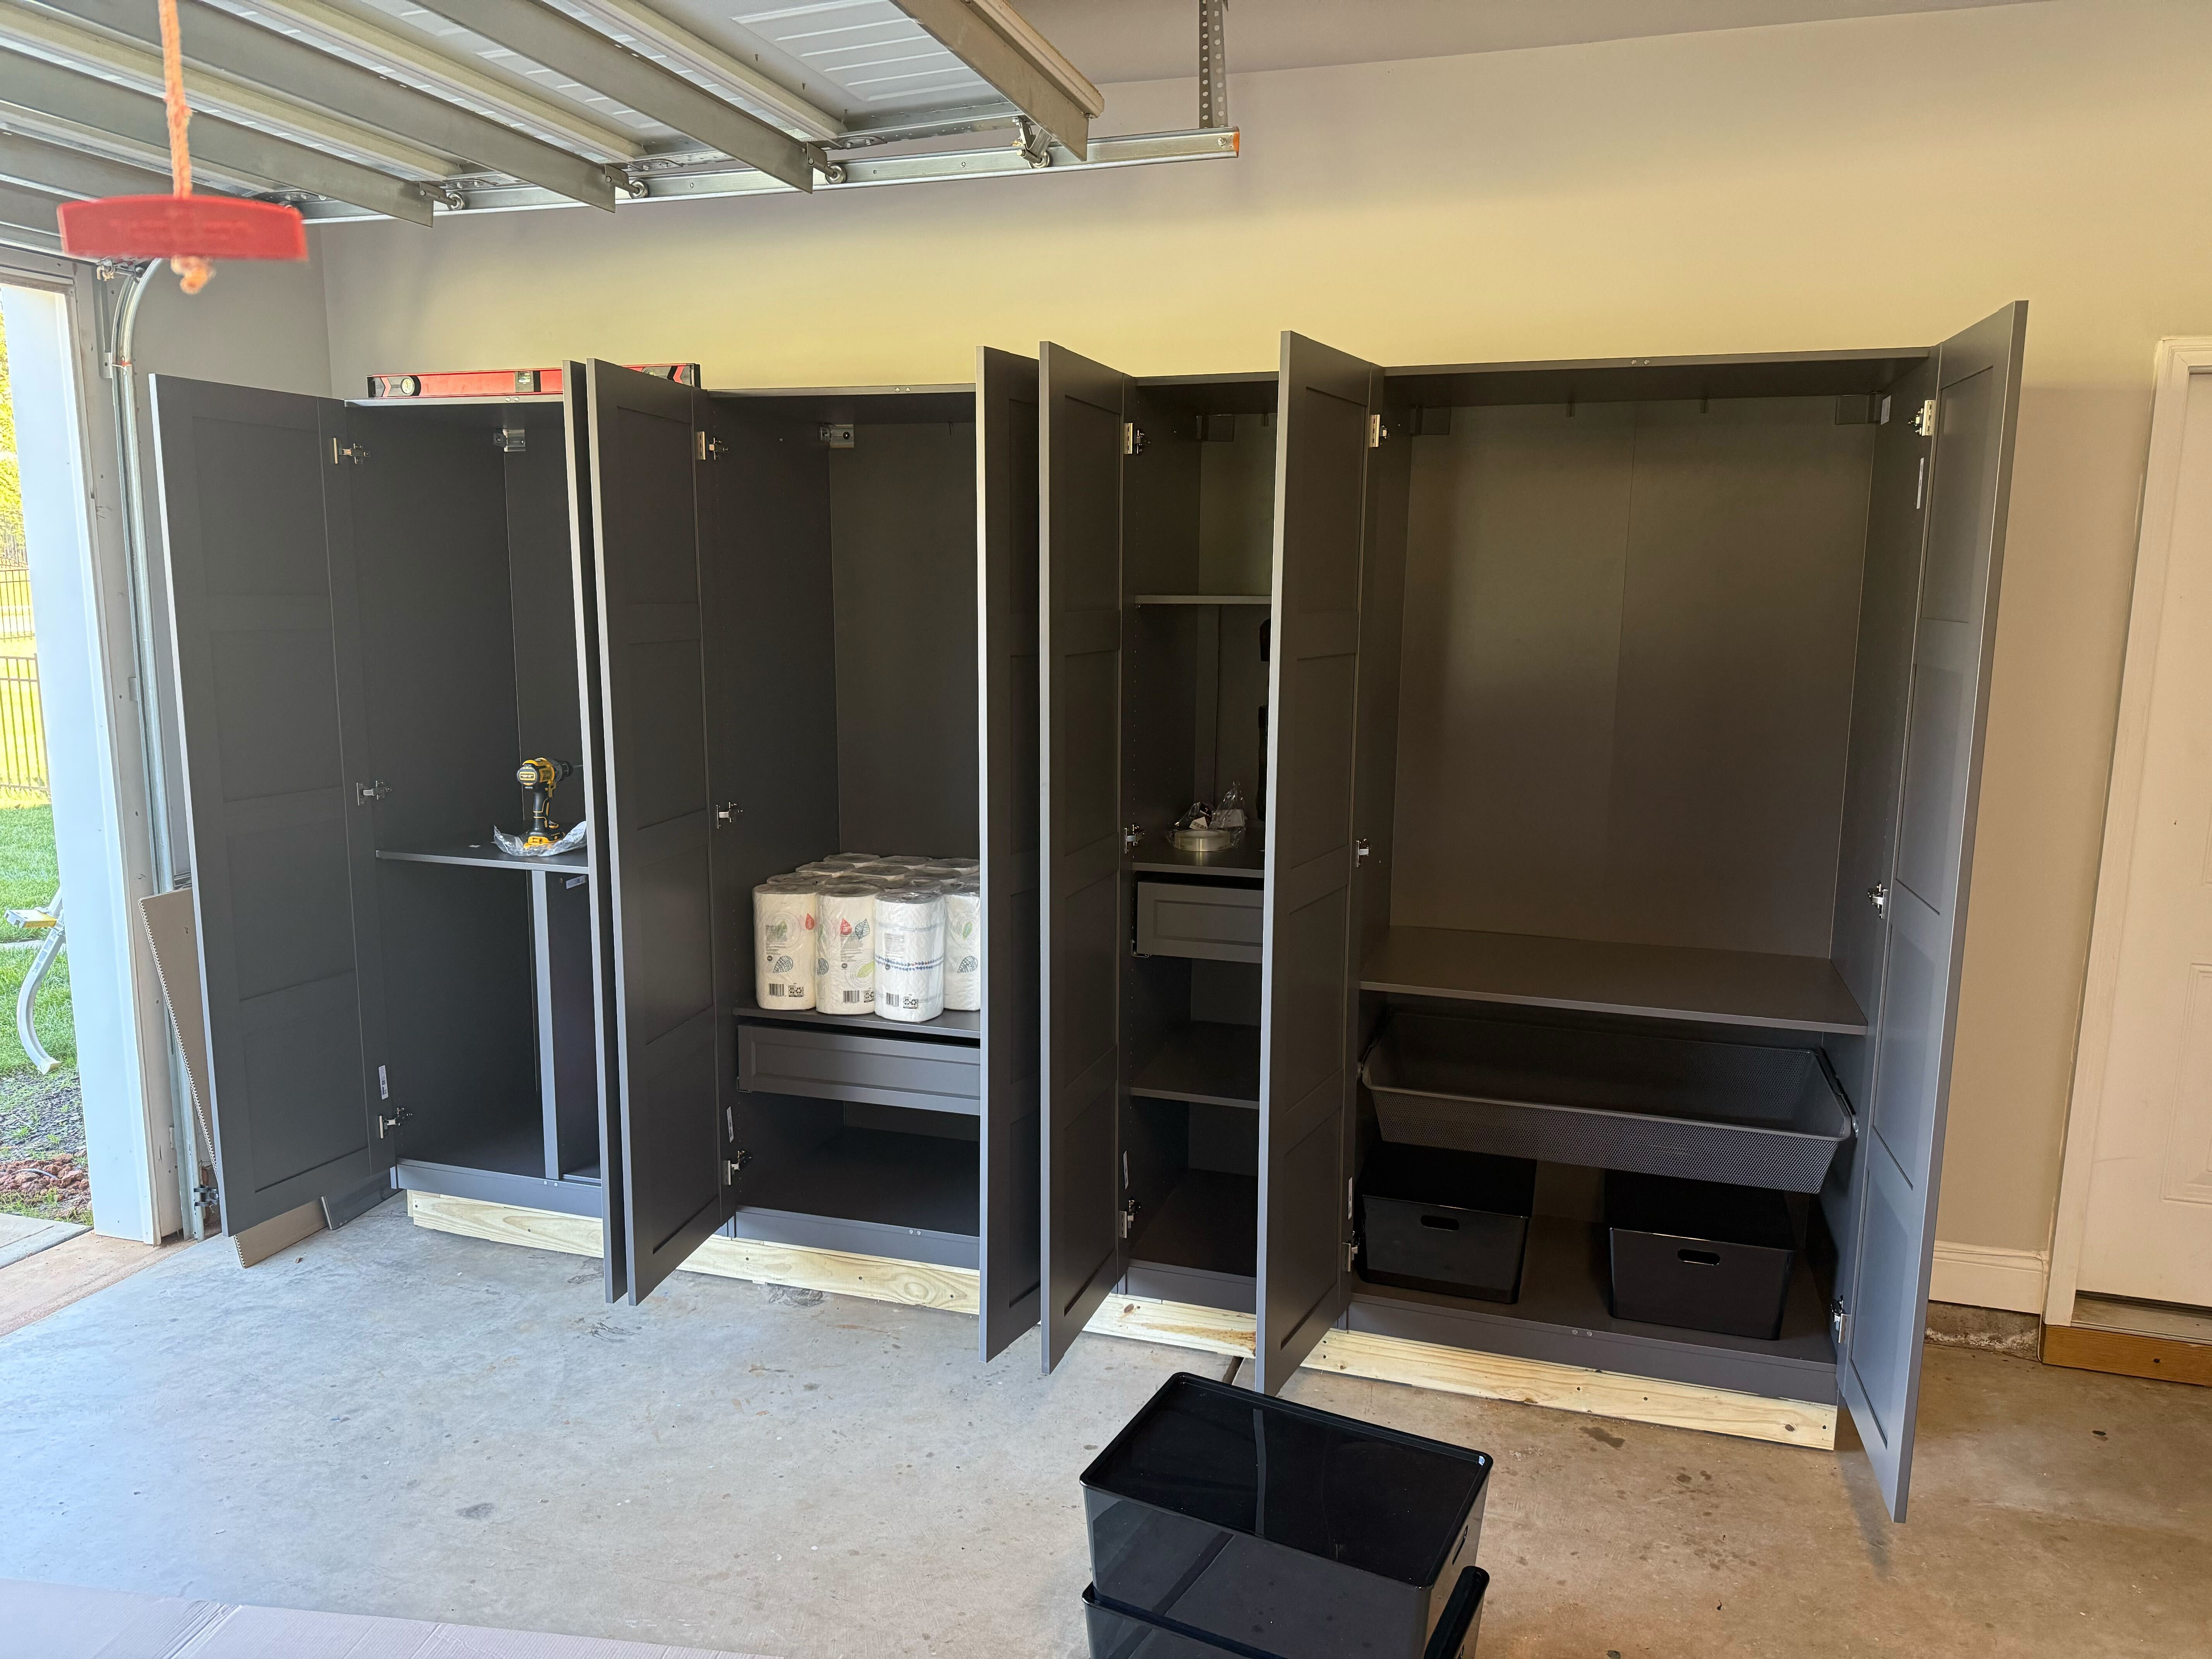
And added a couple more shelves:
Then, with Nicole’s help, I painted some trim (1/2 x 5 1/4 primed MDF) and cove molding…
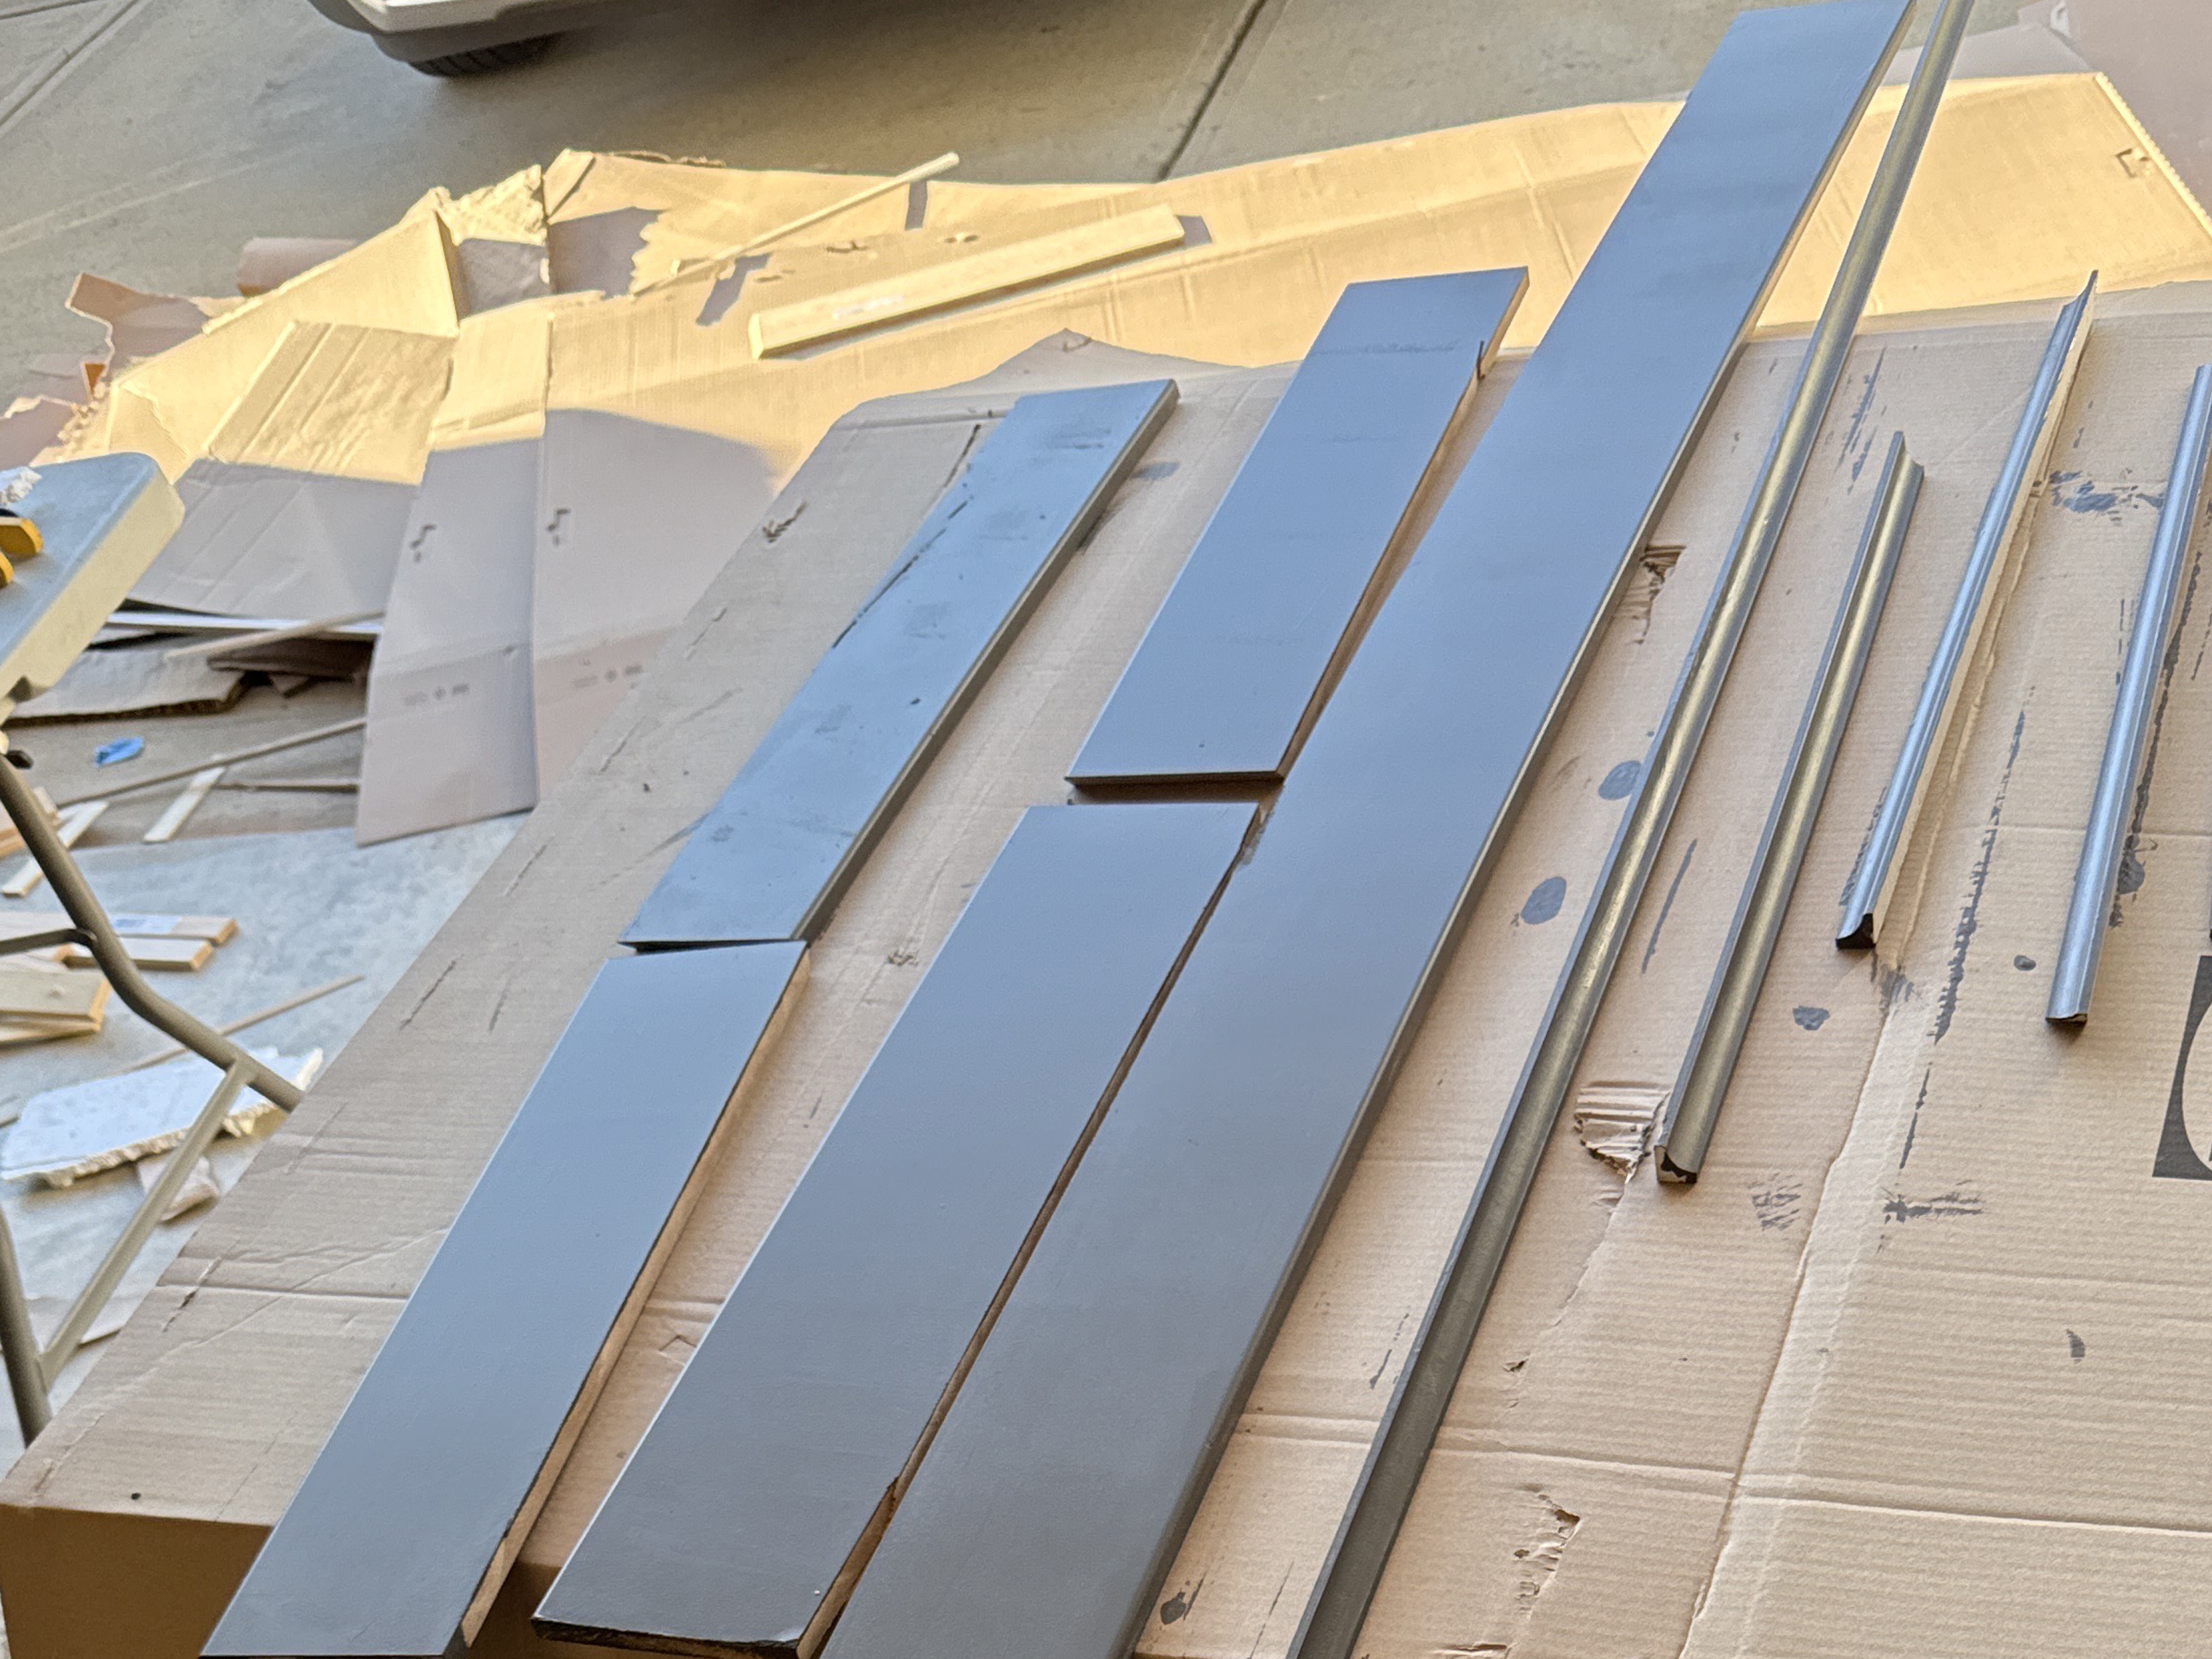
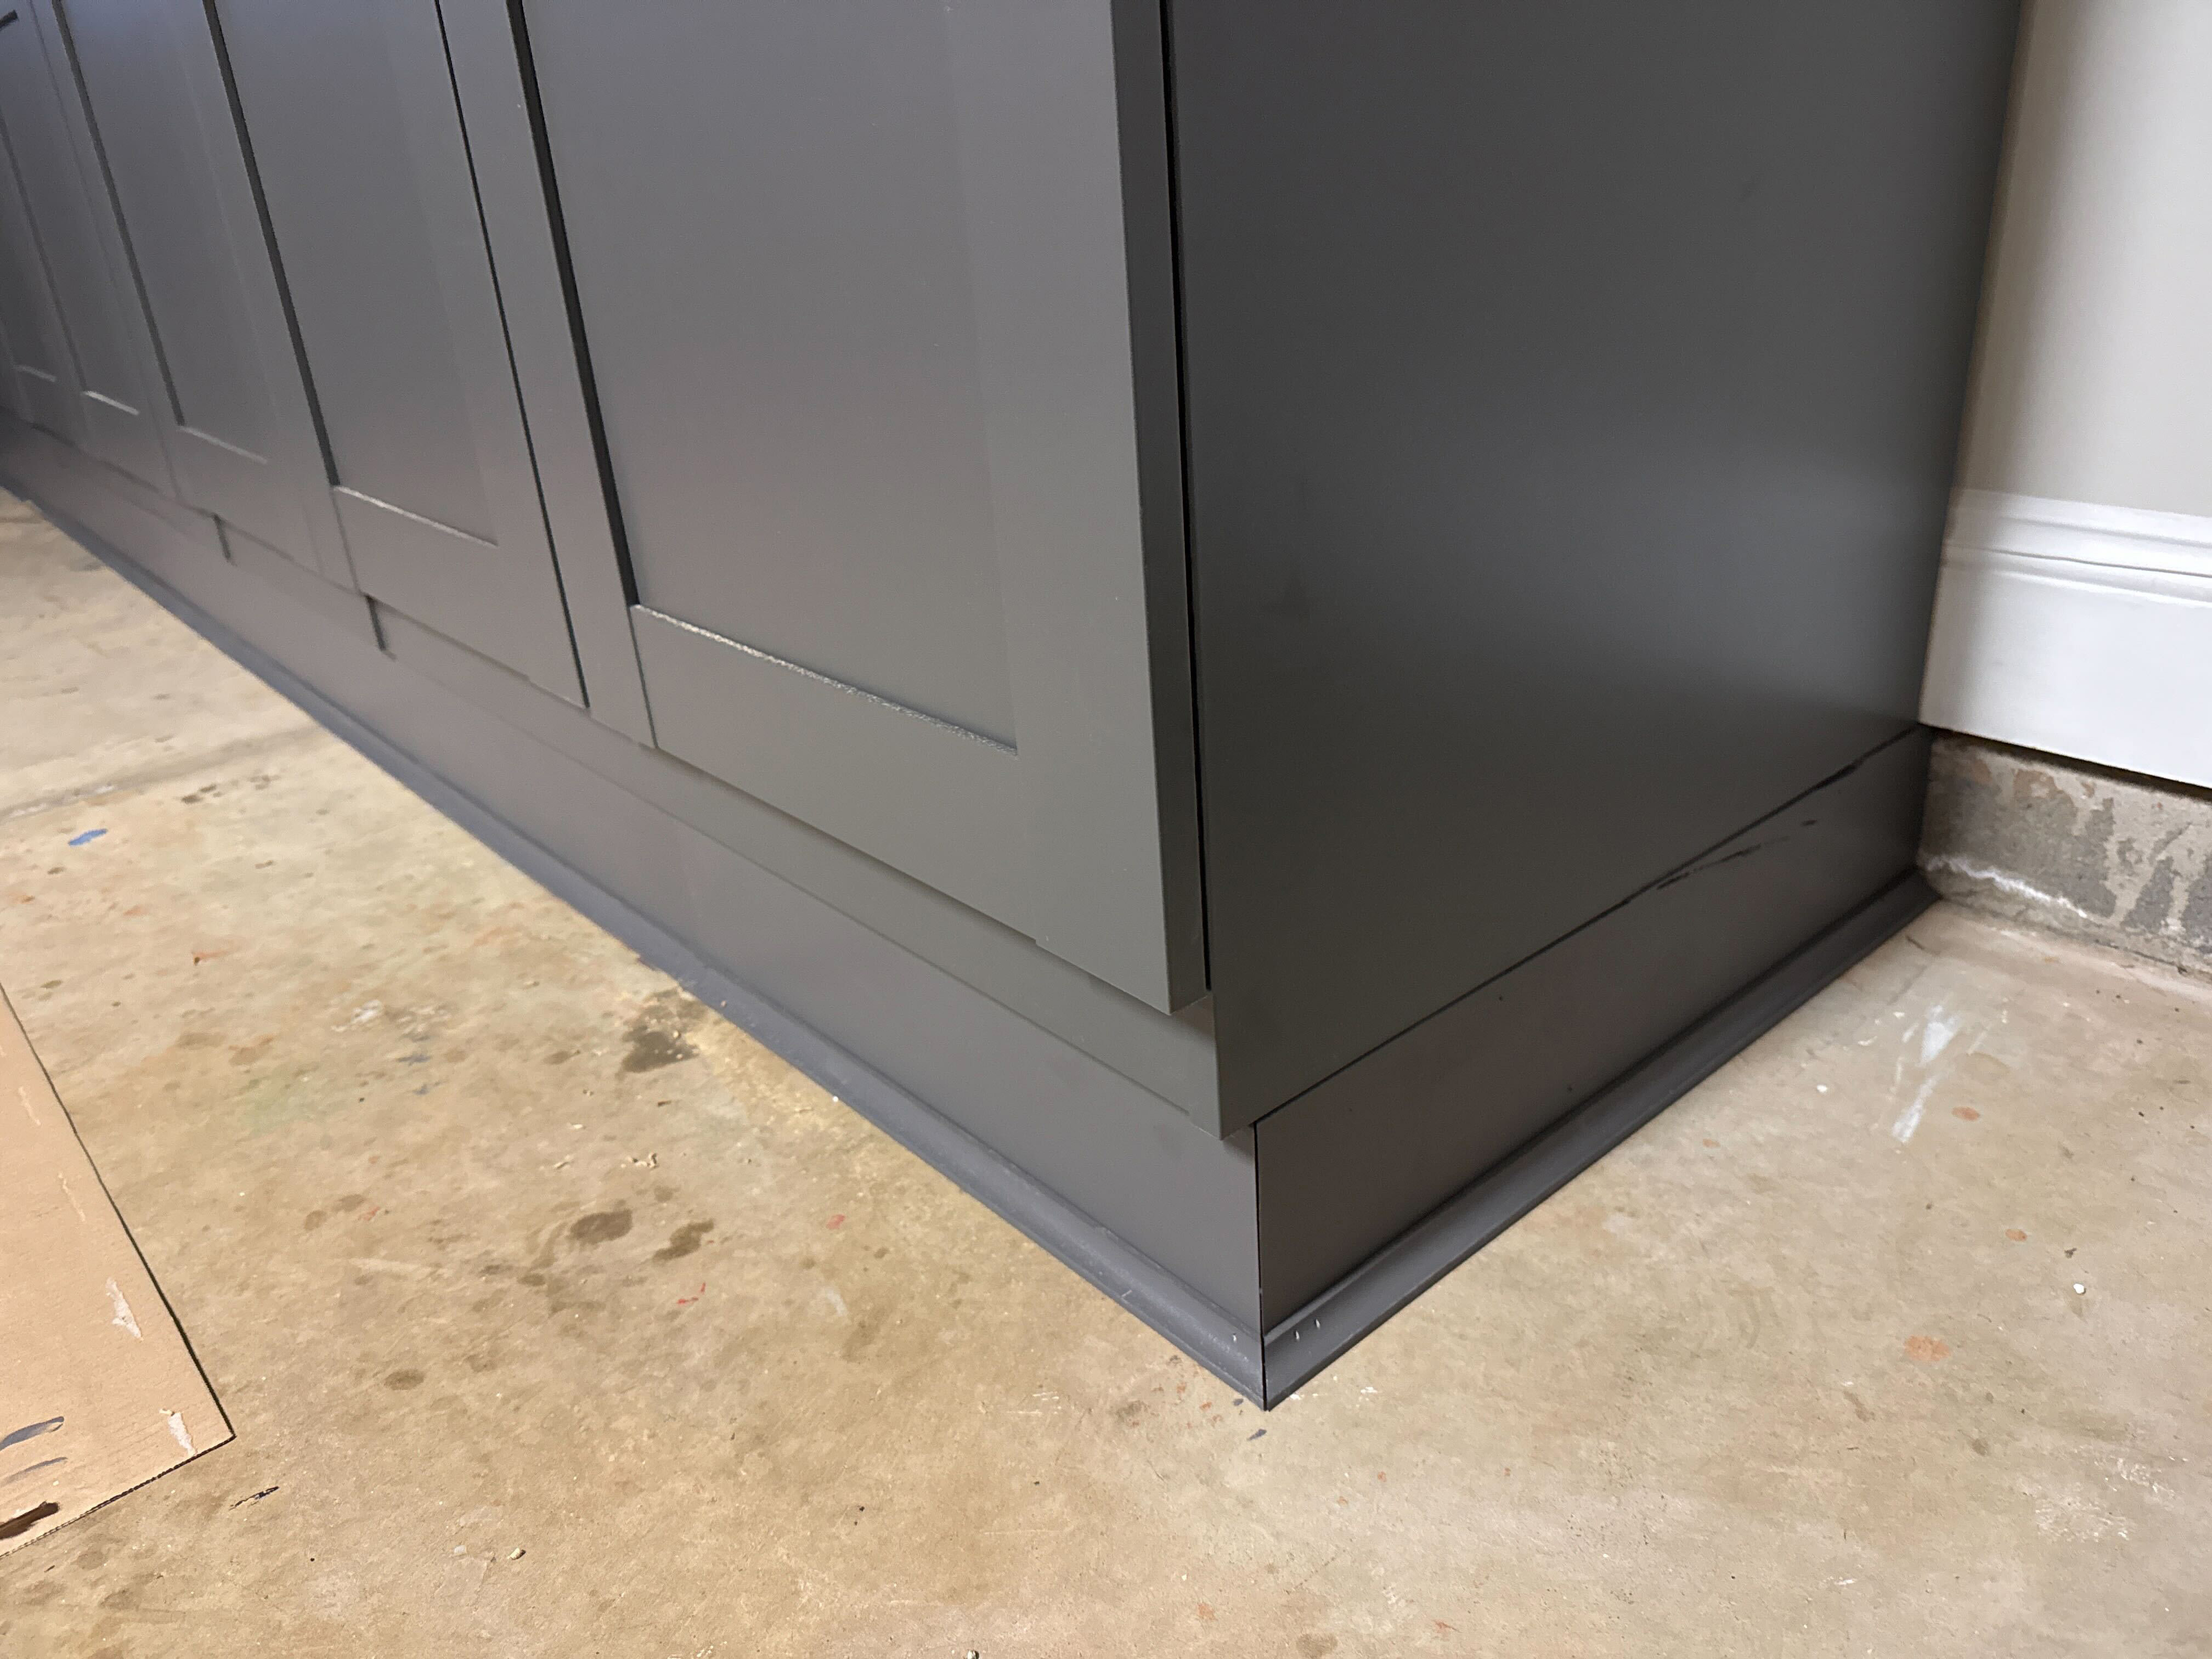
…to make the bottom look a little more built-in (my first miter joints, everyone!). I pushed the trim up to the bottom edge of the cabinets, which kept them level, but this allowed the molding to follow the floor with no gaps. The molding isn’t level, obviously, but you can’t tell at a glance. Yes, I touched up the brad nail marks after this shot:
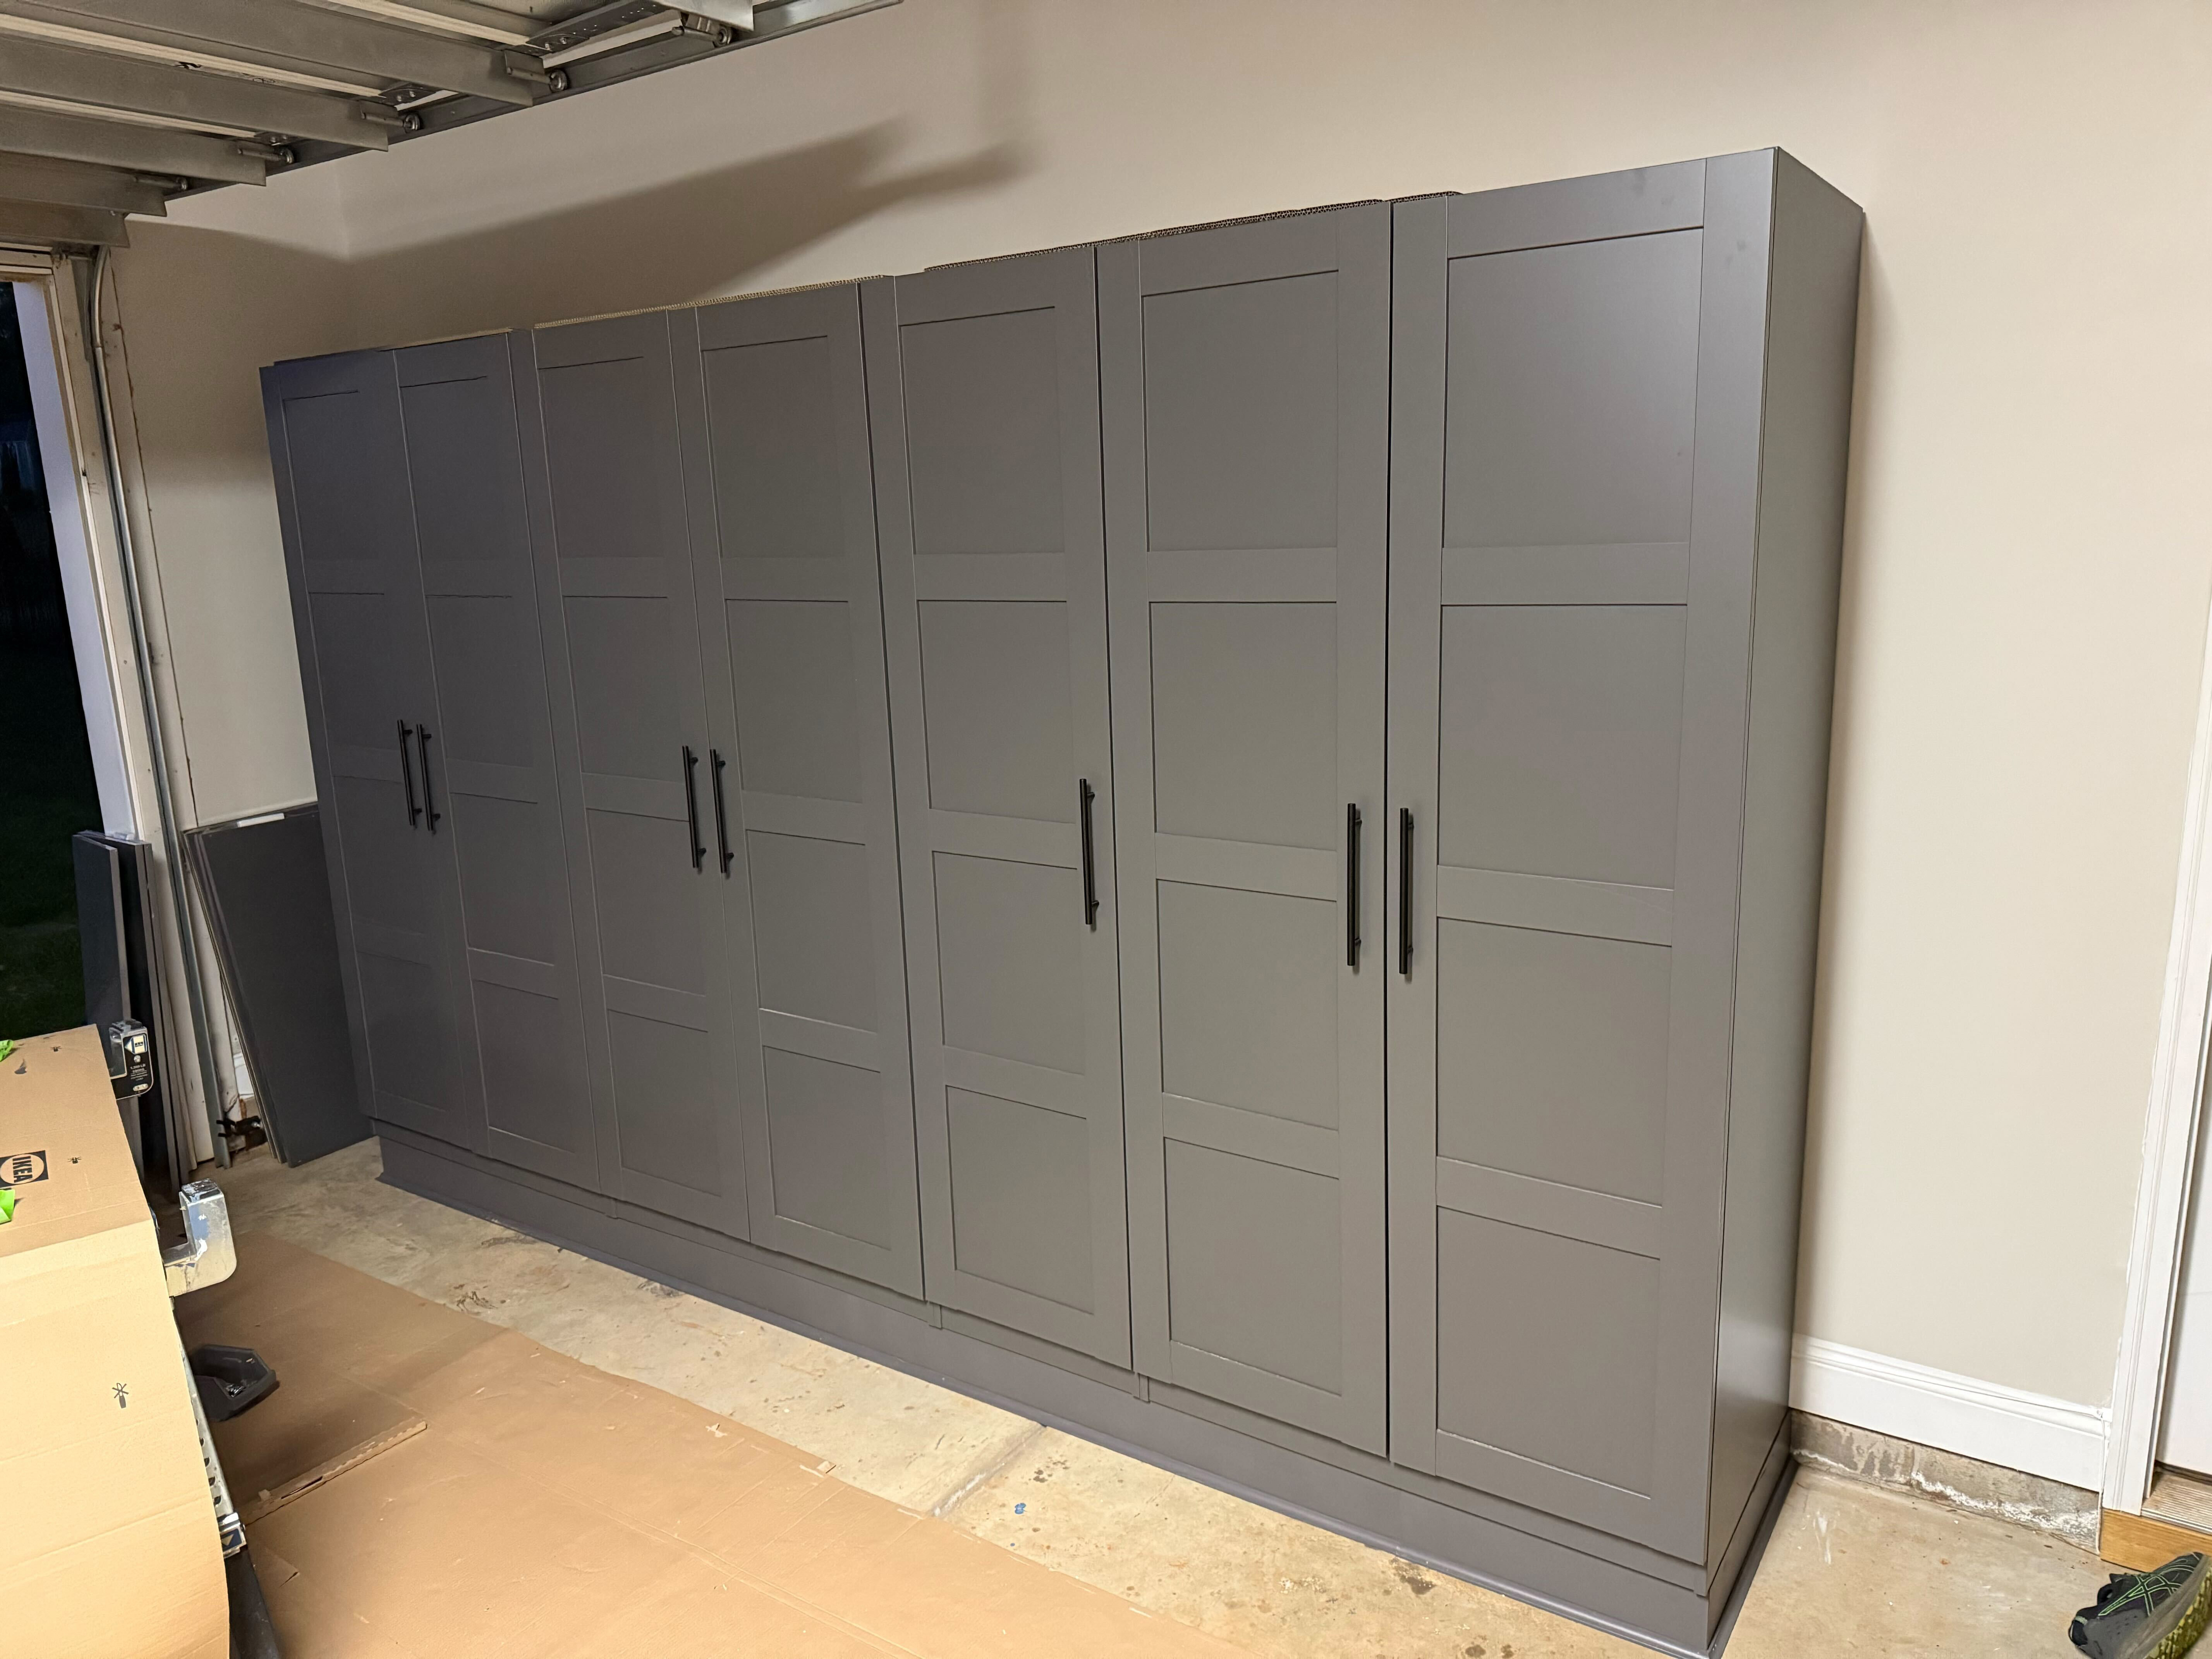
I added some door handles, though the doors aren’t perfectly aligned yet:
One positive about all the cardboard is some of the PAX items come with double-corrugated cardboard that perfectly sized as a top protector (where I plan to put some Hefty bins). I put them down with a couple of pieces of double-sided tape, hidden from most vantage points but just off the wall to avoid scratching that. It’s just the garage, but why scratch up the cabinets for no reason?
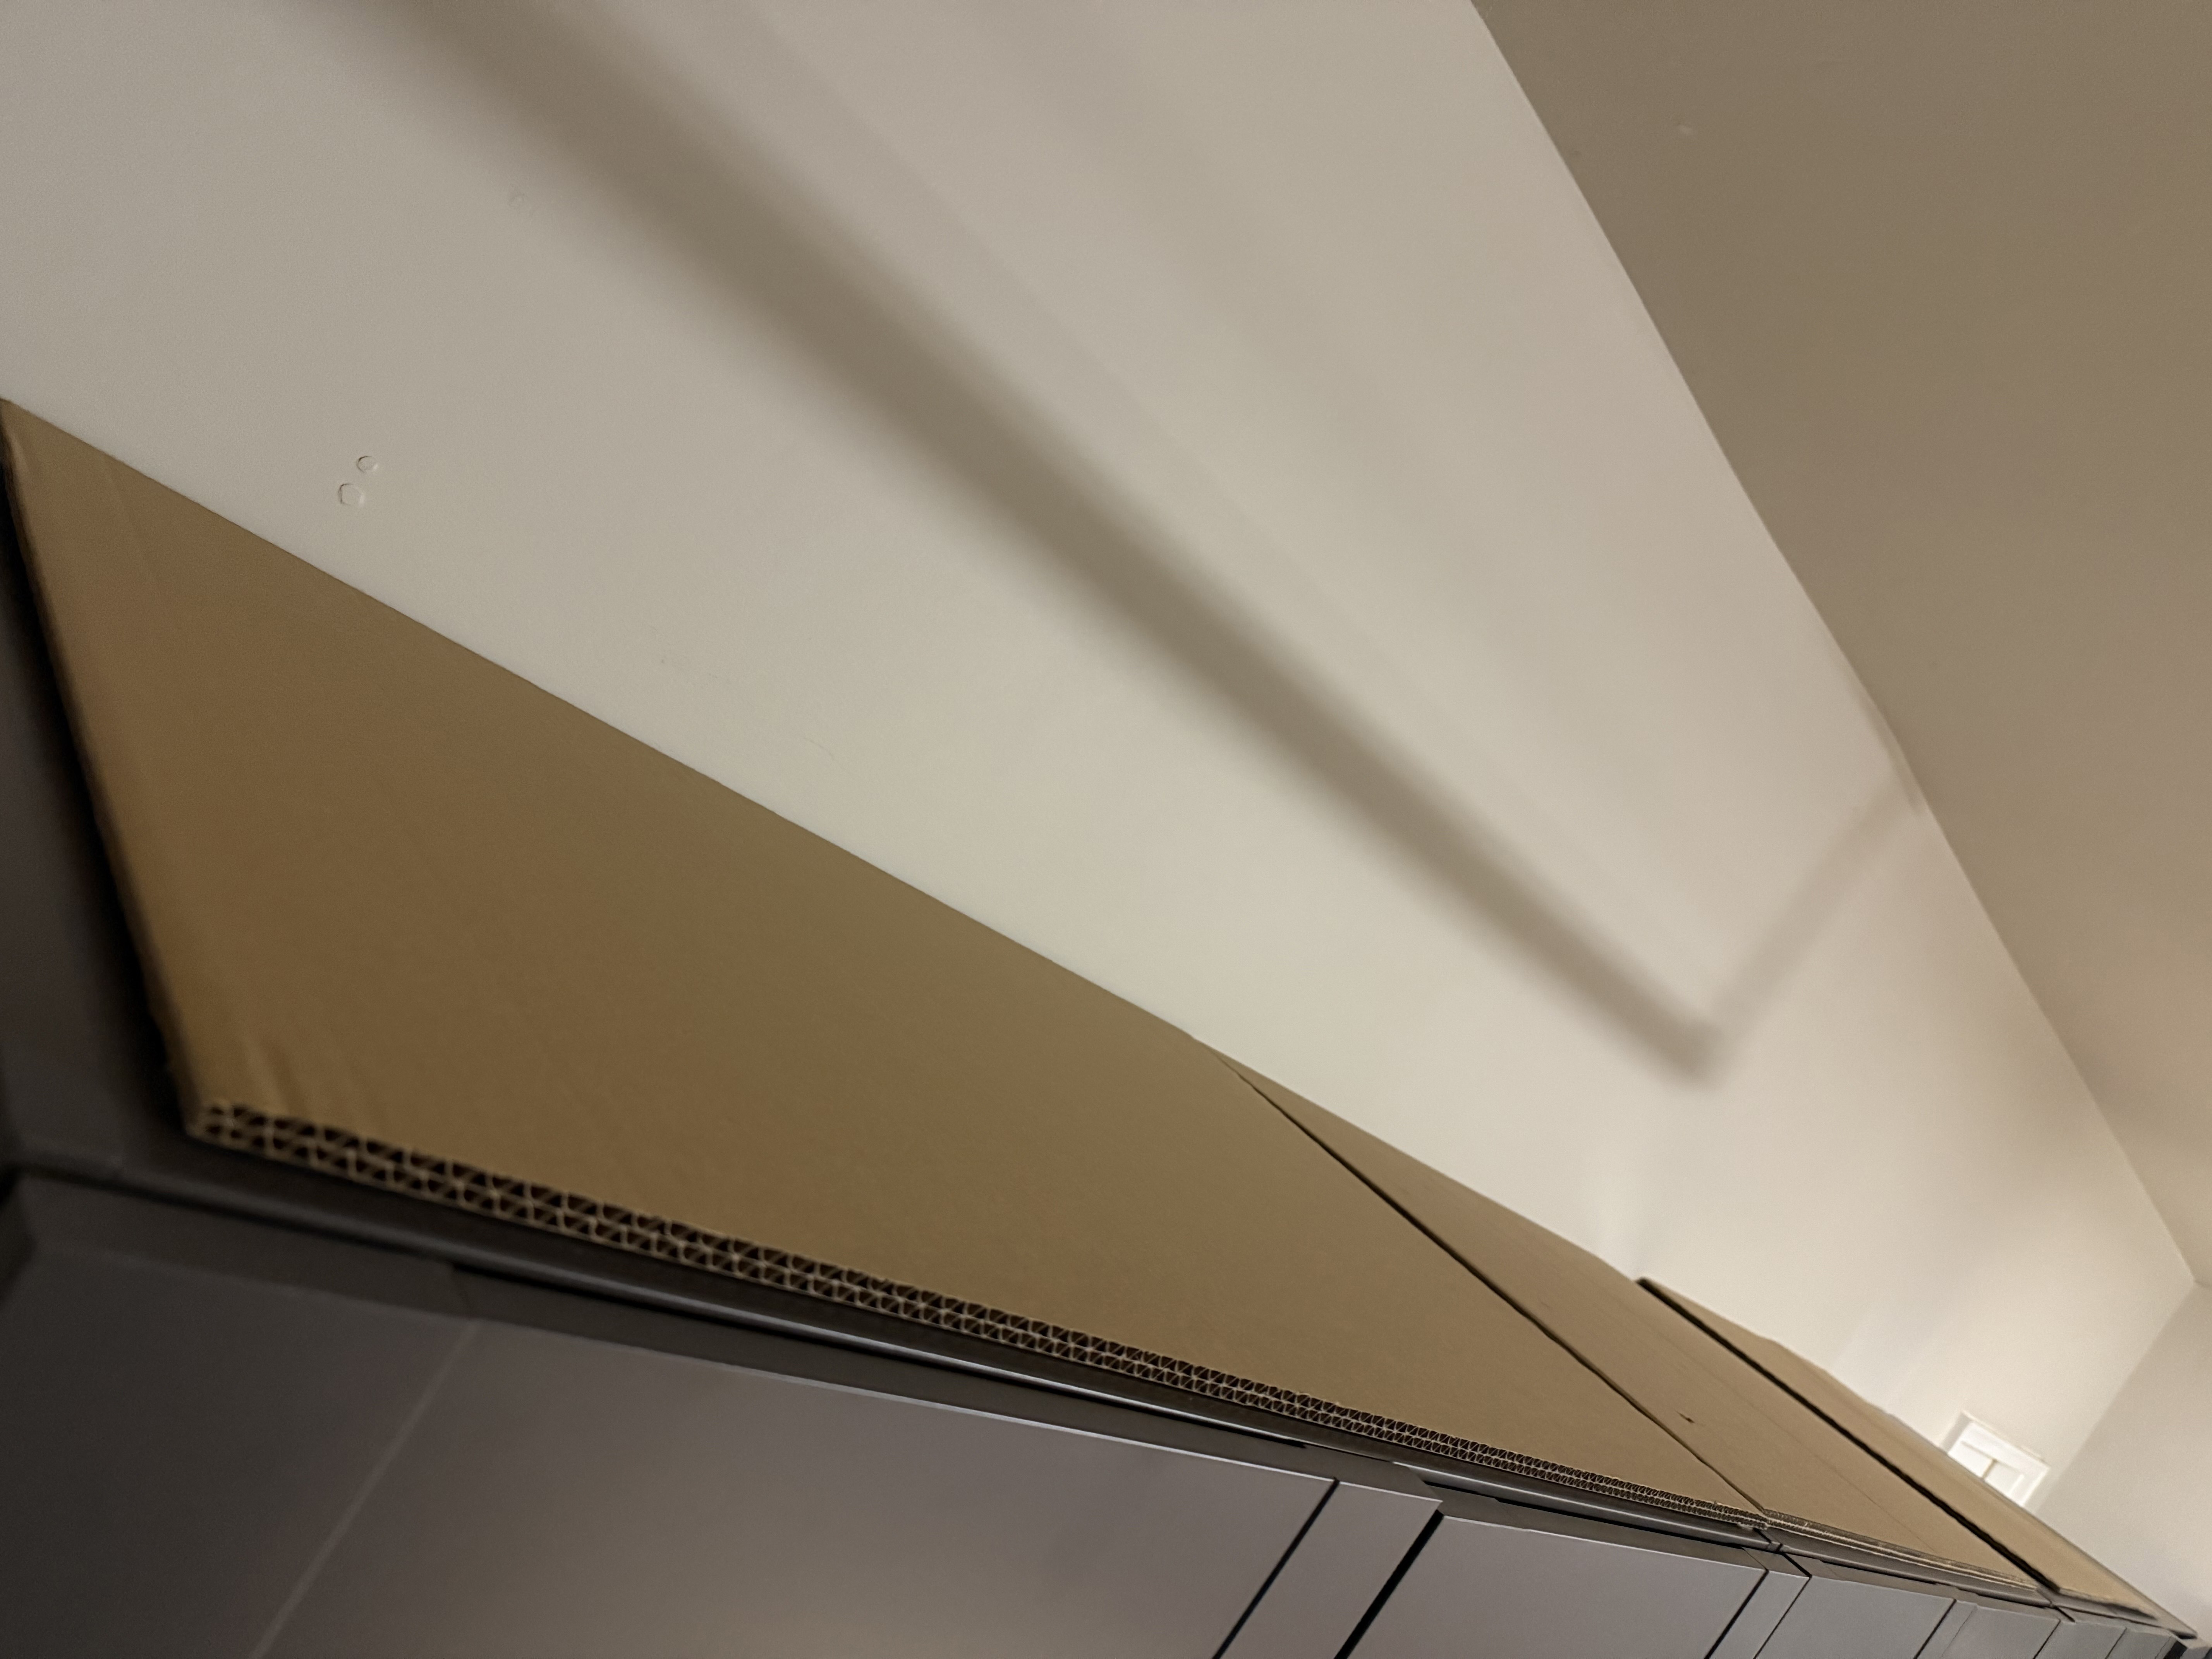
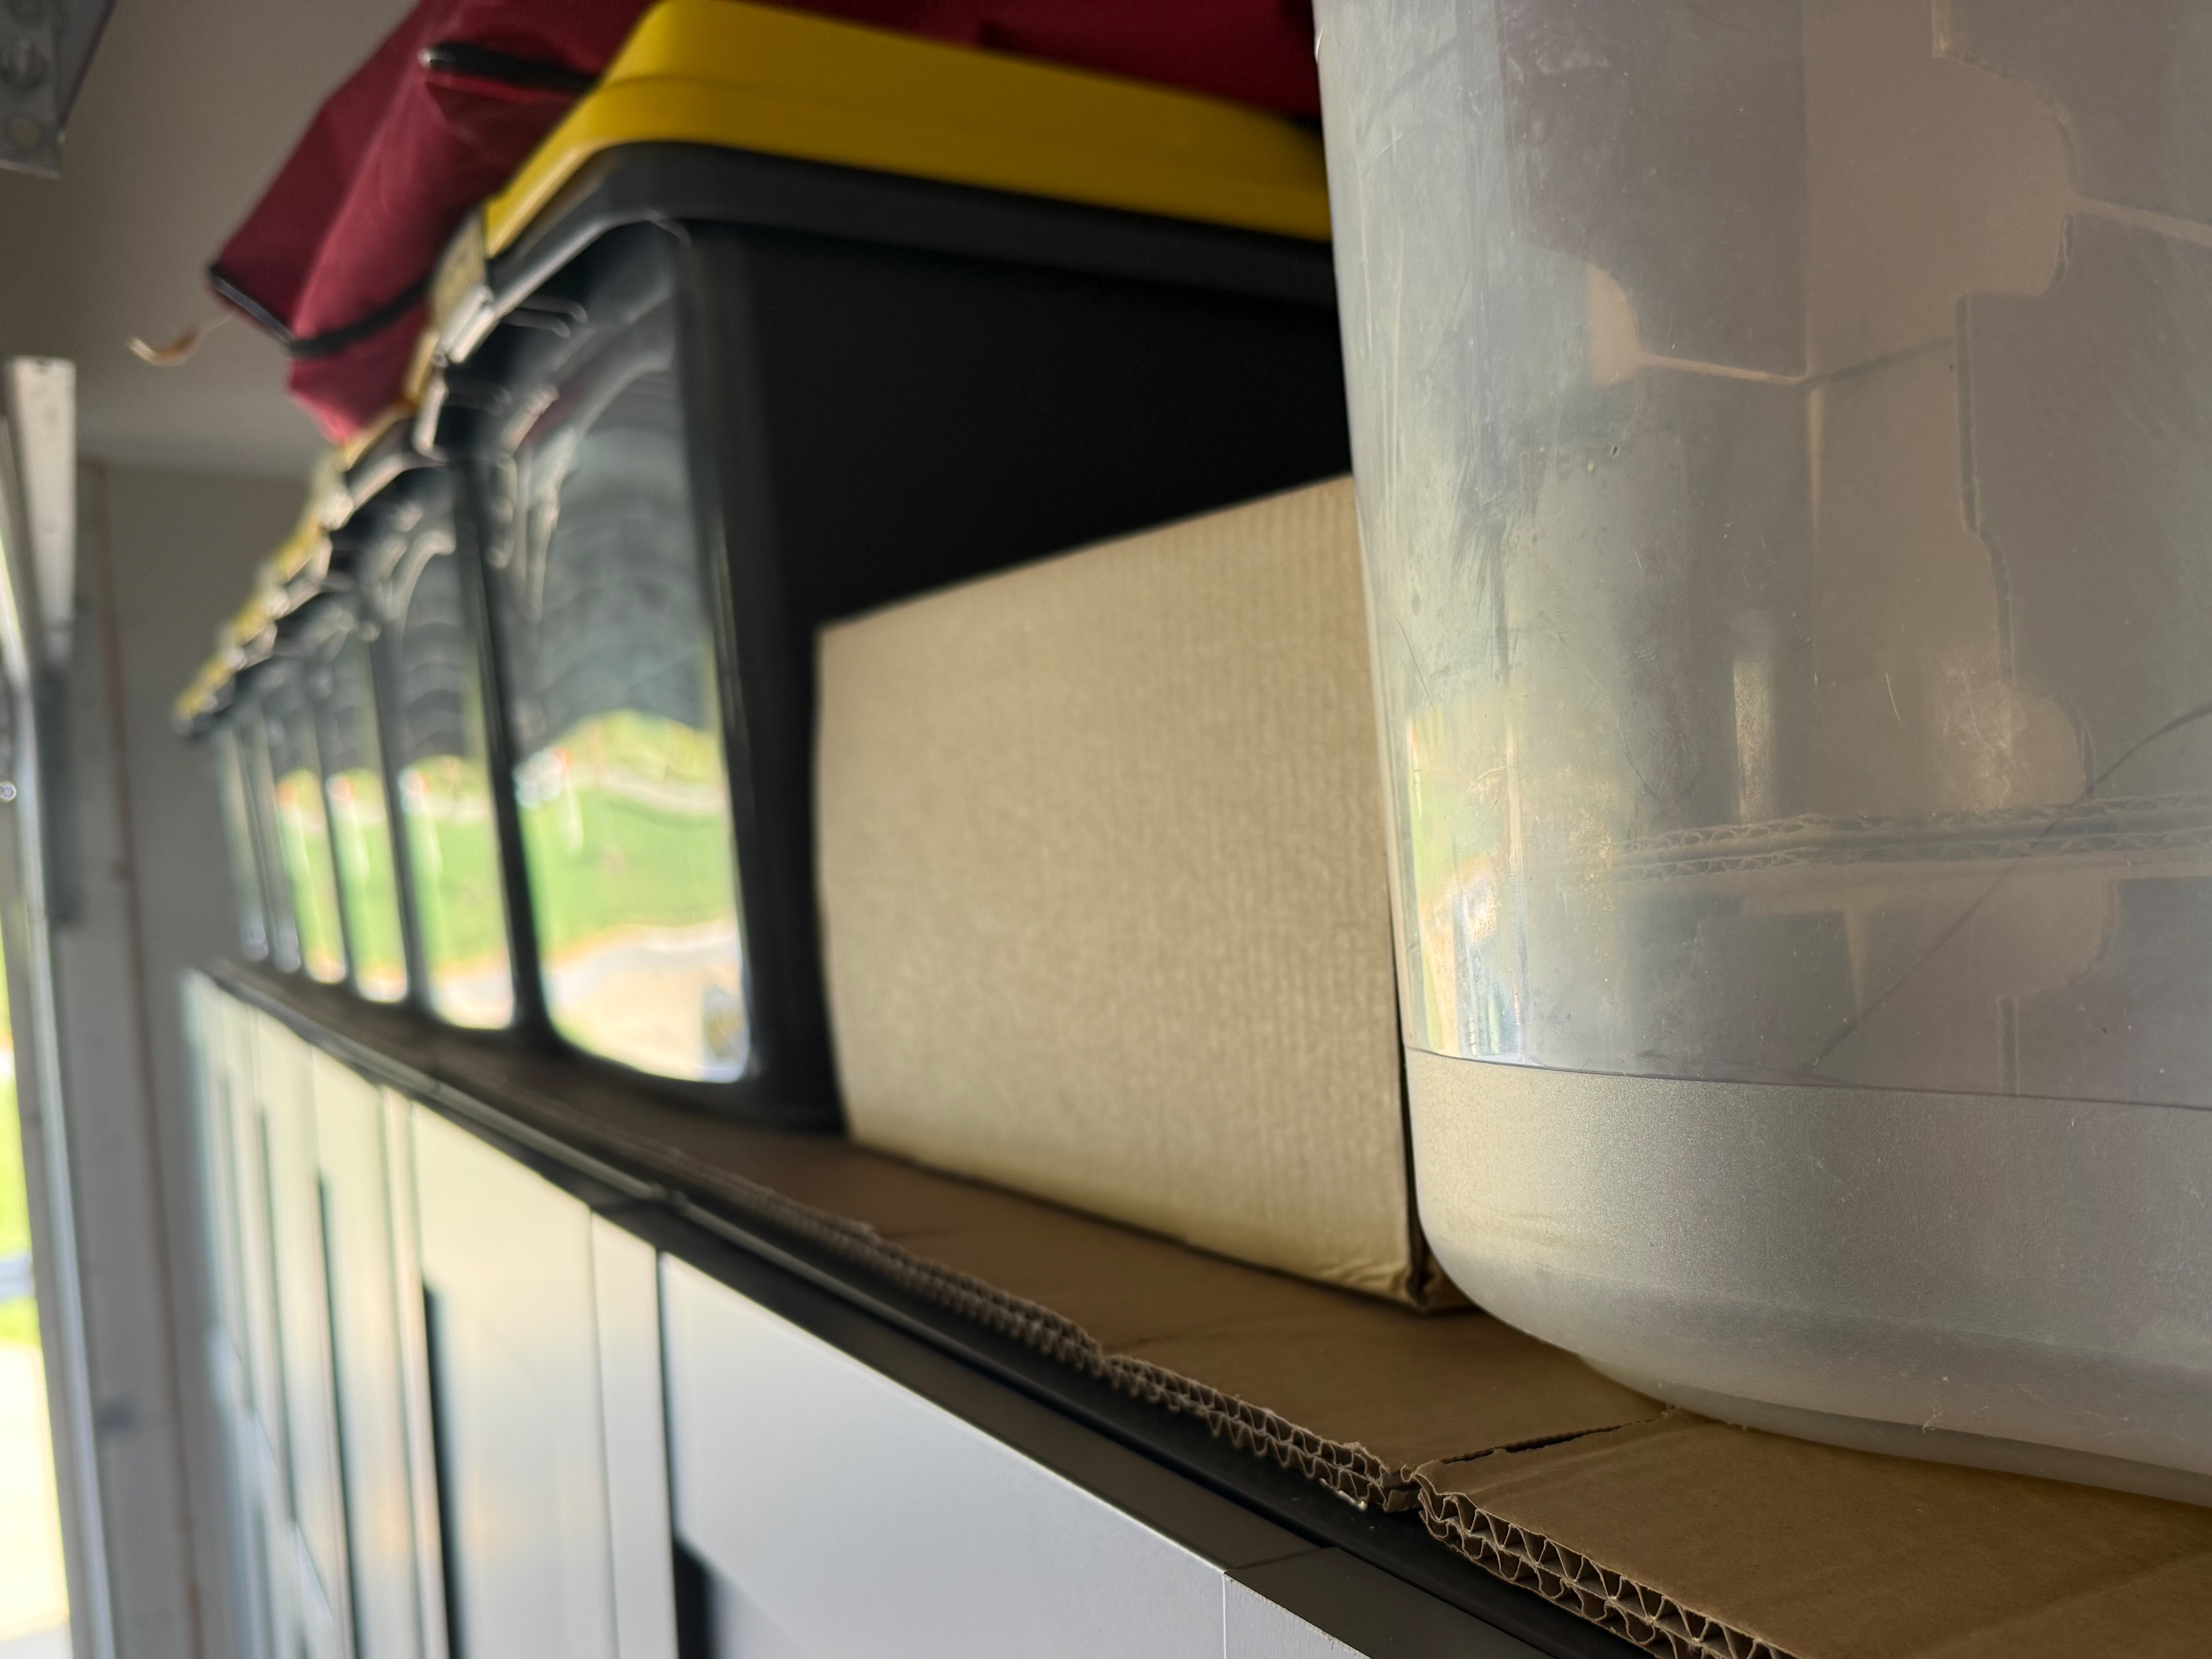
(I also – after these pics – ran a piece of sandpaper along the edges so the next person who reaches up there has much less chance of a paper cut.)
And that’s it for that wall. In the corner there will be a bunch of ladders, and on the wall near the door, stainless steel dry erase and a shoe bin/shelf of some kind. Once I get the cabinets loaded with all the stuff currently stored on the back wall, I’ll be ready to share my next project.
In the meantime, a couple of tips about PAX / Komplement:
- I needed framing because my garage floor is sloped. If your floor is inside and/or you know it’s 100% level, you can skip that part (and the work involved with hiding the framing).
- Always glue your framing in addition to nails or screws. Don’t cheap out on glue; I get the highly-rated Gorilla. You can use a brad nailer to hold the framing just right. A lot of people swear by saving time and not screwing boards together, but I find it a much more reliable path to stability, even if it takes more time.
- Get your framing level first! If you’ve built the box and it isn’t level, you can shim the parts that are low, but this isn’t a permanent solution. Glue and screw more framing inside to lift the frame up where necessary, then get the shims out of there. Just think of what the future person who demos your cabinets will think of all the shims you used!
- If your framing isn’t perfectly level after you put the chassis on, fix it before you start adding all the shelves, because it will be harder to adjust when it’s supporting more weight. There are tools that can lift almost anything, but it’s harder to shim and balance more load – and once the cabinets are on the framing, it’s too late to add more proper support inside, which is way better than shims anyway. But at this point shims might be your only option.
- Don’t skip the wall support, even though it’s the most tedious part of the build. It’s easy to think, “I won’t need this; it’ll never tip. I can just sit the cabinets on the floor and they’ll lean on the wall!” I find it provides higher value for side-to-side stability than anti-tip, and helps with leveling, especially if you are putting multiple together. I decided to skip cutting out the baseboard, which meant I used 1x4s to provide the same gap to the wall at the top. This is also useful because you can screw the 1x4s into the studs and then the wall supports can go right into those boards anywhere, without having to line up perfectly. Of course, if you want the cabinets flush to the wall, or really like wall anchors, maybe that approach isn’t for you.
- If you are putting multiple together, absolutely do use the connector bolts. To make this step easier, use clamps to keep the chassis tight. They don’t need to be super expensive; even the Irwins I have can be operated with one hand and pack an amazing amount of pressure.
- Put the doors on before you start installing lots of shelving and other accessories. If you don’t have a helper or a proper cabinet door jig, or it won’t arrive in time, a stack of boards will do in a pinch. If nothing else, you will avoid putting a shelf somewhere a hinge will have to go. But…
- Don’t count up from the middle door hinges to put a shelf, since a left-hanging door has hinges one peg higher than a right-hanging door. My fingers are still throbbing from removing three of those shelf supports when I counted up the same number of pegs on each side.
- That said, once you’ve picked the right places to put supports, push them in with a screwdriver before screwing them in, and use an adjustable wrench or similar to keep them straight while you finish tightening them. You do want to screw them in, even if it seems unnecessary – it’s the only way you can expect your shelves to support the full 40+ pounds per specs. Using the adjustable wrench will let you keep them vertical, and the shelf will just drop onto them really nicely instead of having to adjust them afterward.
- However, note that if you put the doors on first, they don’t provide full horizontal clearance, so if your shelves are spaced close (say, 10 pegs or fewer), you may have a harder time squeezing a shelf in. If you get into this spot, taking one hinge off the door for a moment will probably be easier than any other song-and-dance solution you might try, and it shouldn’t have any impact on any fine-tuning you’ve already done to align the door.